PyGame client app
Intro
In the previous lab, we checked out and ran a Flask web app.
We saw that a web browser can work as a function for the Flask web app. Let’s use another client that is a game. After all, the Flask app is just sending JSON data, which is basically a dictionary. Python can handle dictionaries.
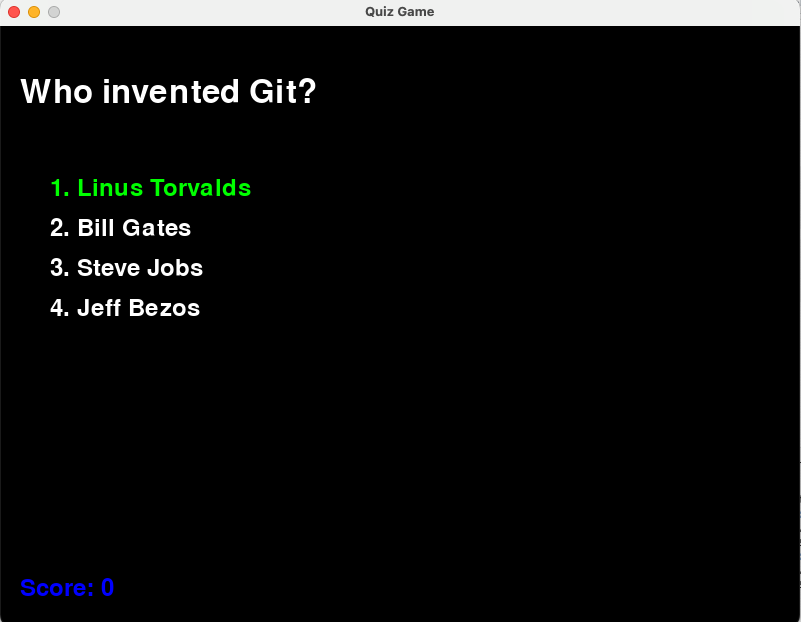
The app below is a game with minimal functionality that enables you to answer quiz questions.
Pygame app setup
- Accept the PyGame Quizzer assignment: https://classroom.github.com/a/dPKVKNki.
- Clone the repo to your your local computer. This should create a project directory called
pygame-quizzer-<your_name>or something similar. - Using your Terminal,
cdinto the project directory. - Open Visual Studio Code in the working directory with
code .. It is essential that yourpygame-quizzer-<your-name>/directory is the top-level of Visual Studio Code. - In the menu bar, select View → Command Palette
- Search for “environment” and select Python: Create Environment…
- Select Venv
- Select a recent Python version.
- On “Select dependencies to install”, check the box next to
requirements.txt. Click “Okay”.
Visual Studio Code will take a minute to create a .venv/ subdirectory and install all the pygame libraries to it.
WSL users
You need to have WSL2 for GUI applications to work from WSL. On the Windows side, open a Command Prompt or PowerShell (not Ubuntu)
wsl --list --verboseYou will see something like:
NAME            STATE            VERSION
* Ubuntu-24.04    Running          1
If you see VERSION 2, you are good.
If you see VERSION 1, run
wsl --set-version <Ubuntu name> 2  # e.g., wsl --set-version Ubuntu-24.04 2
wsl --update
This will take some time.
Finally, open a new Ubuntu terminal and run
sudo apt update
sudo apt install libsdl2-2.0-0 libsdl2-dev libsdl2-image-2.0-0 libsdl2-image-dev
Project structure
You will see a few files in the project folder:
quiz_game.py: The only actual Python file. You will run this.- Other things:
.venv/: the Python virtual environment used to run the app. Ignore this..gitignore: tells Git to ignore specific files.requirements.txt: tells the virtual environment whichpiplibraries are needed to run the project.
Running the game
We need to run the game from Visual Studio Code’s integrated terminal.
Note: The game will only run with the “virtual environment” in .venv/ active. Visual Studio Code will activate it for you automatically. If you want to run from your system Terminal, you will need to run source .venv/bin/activate first from your project directory.
To run the game:
- First, make sure your Flask webserver is also running. You will need to have two Visual Studio Codes running (or system Terminals with the virtual environments activated). To open a second Visual Studio Code:
- In Code, File → New Window will open a second IDE. From second IDE, you can do File → Open Folder to open the server project directory.
- You can also type
code .in each of the game and server directories to open a separate IDE for each project.
- From the client game’s IDE terminal, run
python quizzer_game.py
You should see a screen like this:
- Use the arrow keys to make a choice.
- Hit enter to check the answer:
- The app will do nothing if you are wrong.
- The game will display a new question if you are right. There are only two questions, so 50/50 that you will see something different.
- Hit
qor close the window to quit the game. Your score will always be 0.