In this lesson, you will set up an operating system in the Unix family.
Most commercial software runs on Linux. Linux is derived from an OS called Unix. So are Android, macOS, and iOS.
Windows and Unix-derived operating systems do the same things, but the specific commands you type and the way you set up your user environment differ between the OS families.
Mac users
You don’t need to do anything. macOS is derived from Unix, so everything we do in Linux you should be able to do in macOS. There will be a few minor differences.
Just don’t tell anyone that you’re using Linux on a Mac, because you are not! macOS is not Linux, but they speak the same language and have many of the same command line tools.
Windows users
You will install Ubuntu Linux, which will require 18-30GB of disk space.
You will continue to run Windows, but we will use virtualization tools to install Linux and make it think that it is running on actual hardware, when in reality it is running “inside” Windows. The virtualization tools pass OS commands from Linux to Windows, and Windows ultimately controls the hardware. Linux will act like a “computer within a computer”.
This tutorial includes downloading VirtualBox, downloading an Ubuntu .iso image, and installing Ubuntu inside a VirtualBox Virtual Machine.
Important Note: In Step 2 of the tutorial, do not put create “machine folder” inside of folder that is backed up by OneDrive or Google Drive. Mine defaults to c:\Users\laymanl\VirtualBoxVMs, which is fine.
The VM should start automatically.
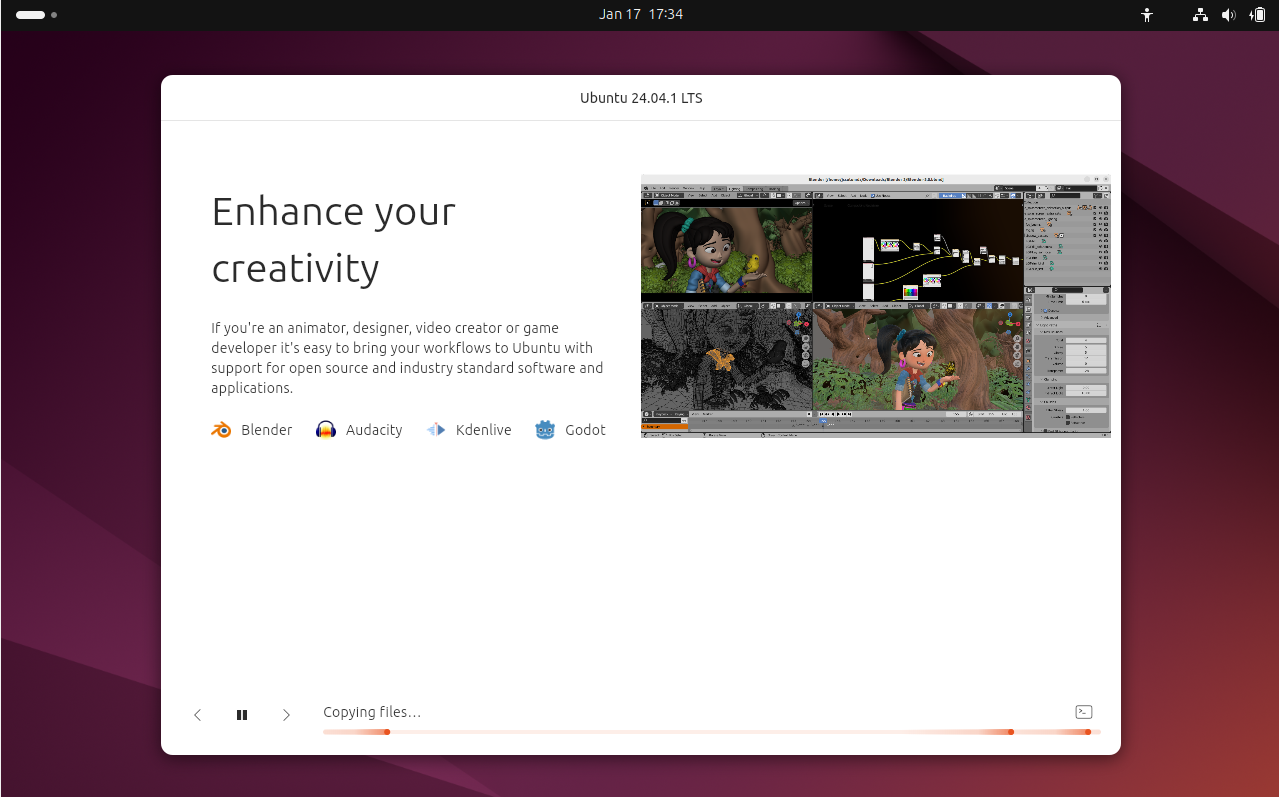
An Ubuntu installer application should be running inside the VM with a screen like the following:Allow this program to finish Copying files... It may take a long time.
Once the installer application finishes, you will be prompted to login using the username and password you created while following the tutorial.
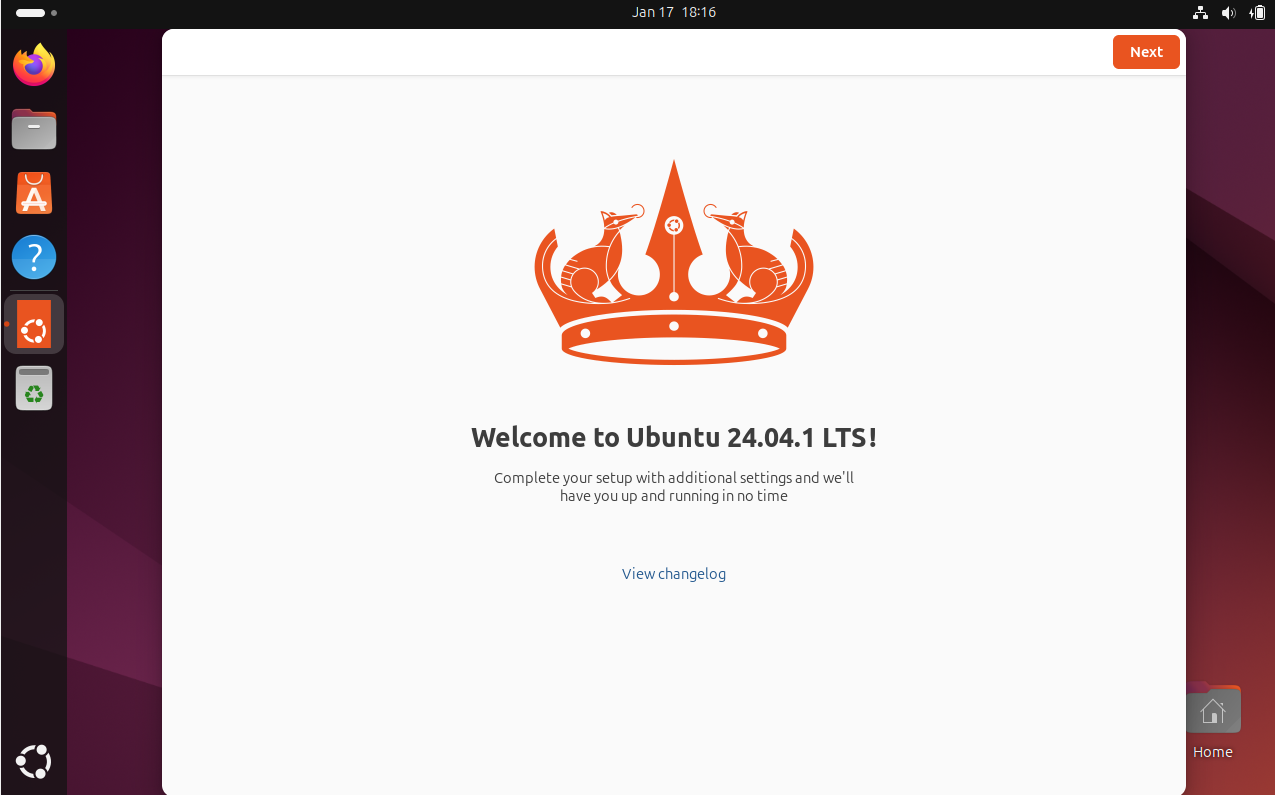
You should see the Ubuntu desktop and a Welcome application. You can skip through the Welcome application without installing anything it recommends.
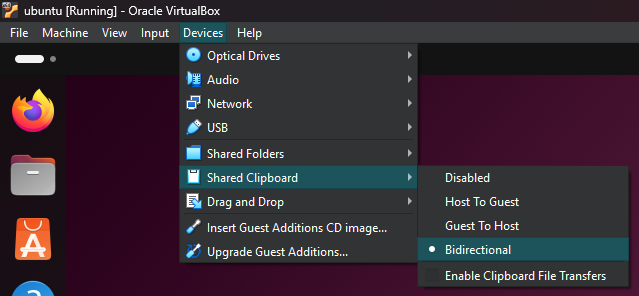
Finally, in the VirtualBox menu bar at the top, select Device → Shared Clipboard → Bidirectional for a quality of life improvement. You are now good to go!
If you use a personal computer
You will enable a virtualization feature called the Windows Subsystem for Linux (WSL) and install a Linux distribution.
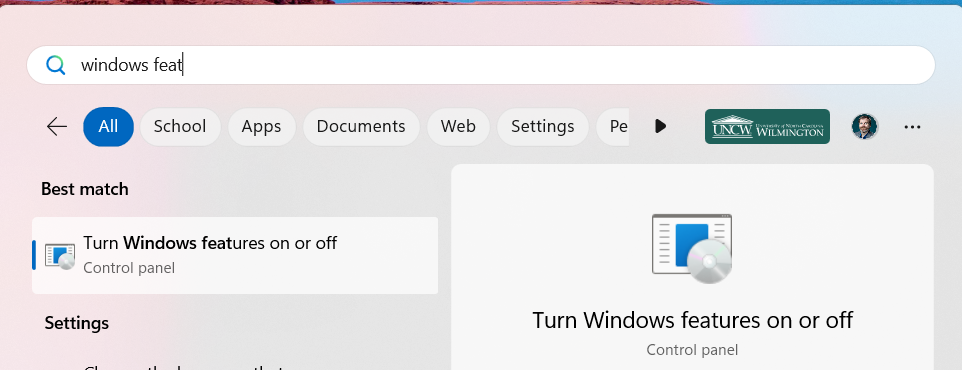
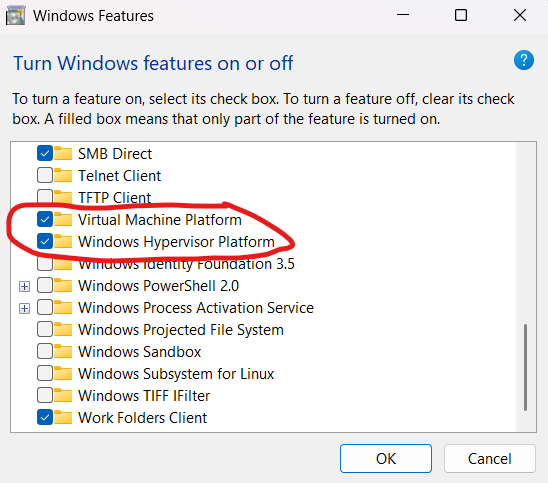
Press the Windows key and search for “windows features”. Select the “Turn Windows features on or off” option.
Scroll down and ensure that “Virtual Machine Platform” and “Windows Hypervisor Platform” are both checked. Hit “OK”.
Reboot your computer if prompted to do so.
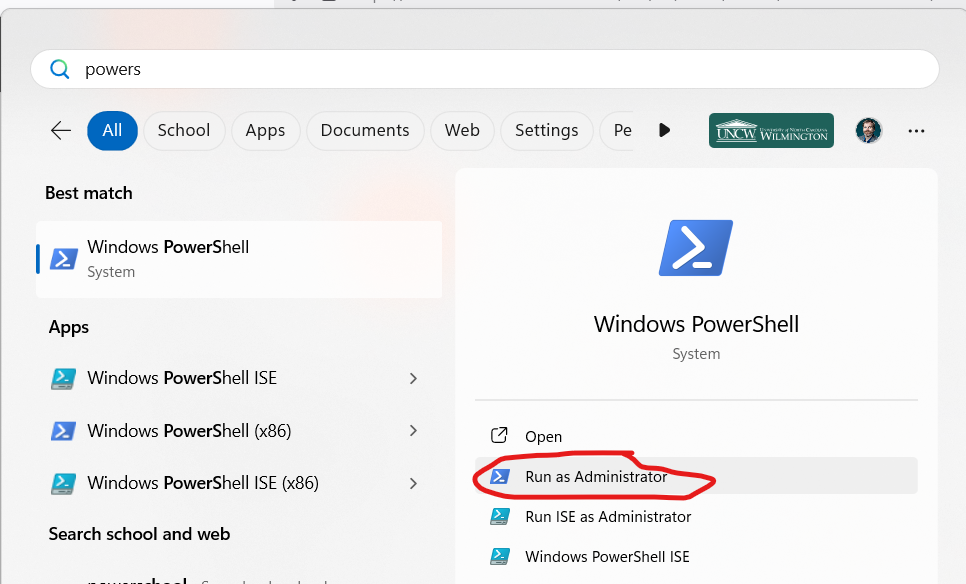
Hit your Windows key, search for PowerShell. Right click it and “Run as Administrator”.
In Powershell, run the command wsl --install. This may take a while to complete.
Reboot your computer.
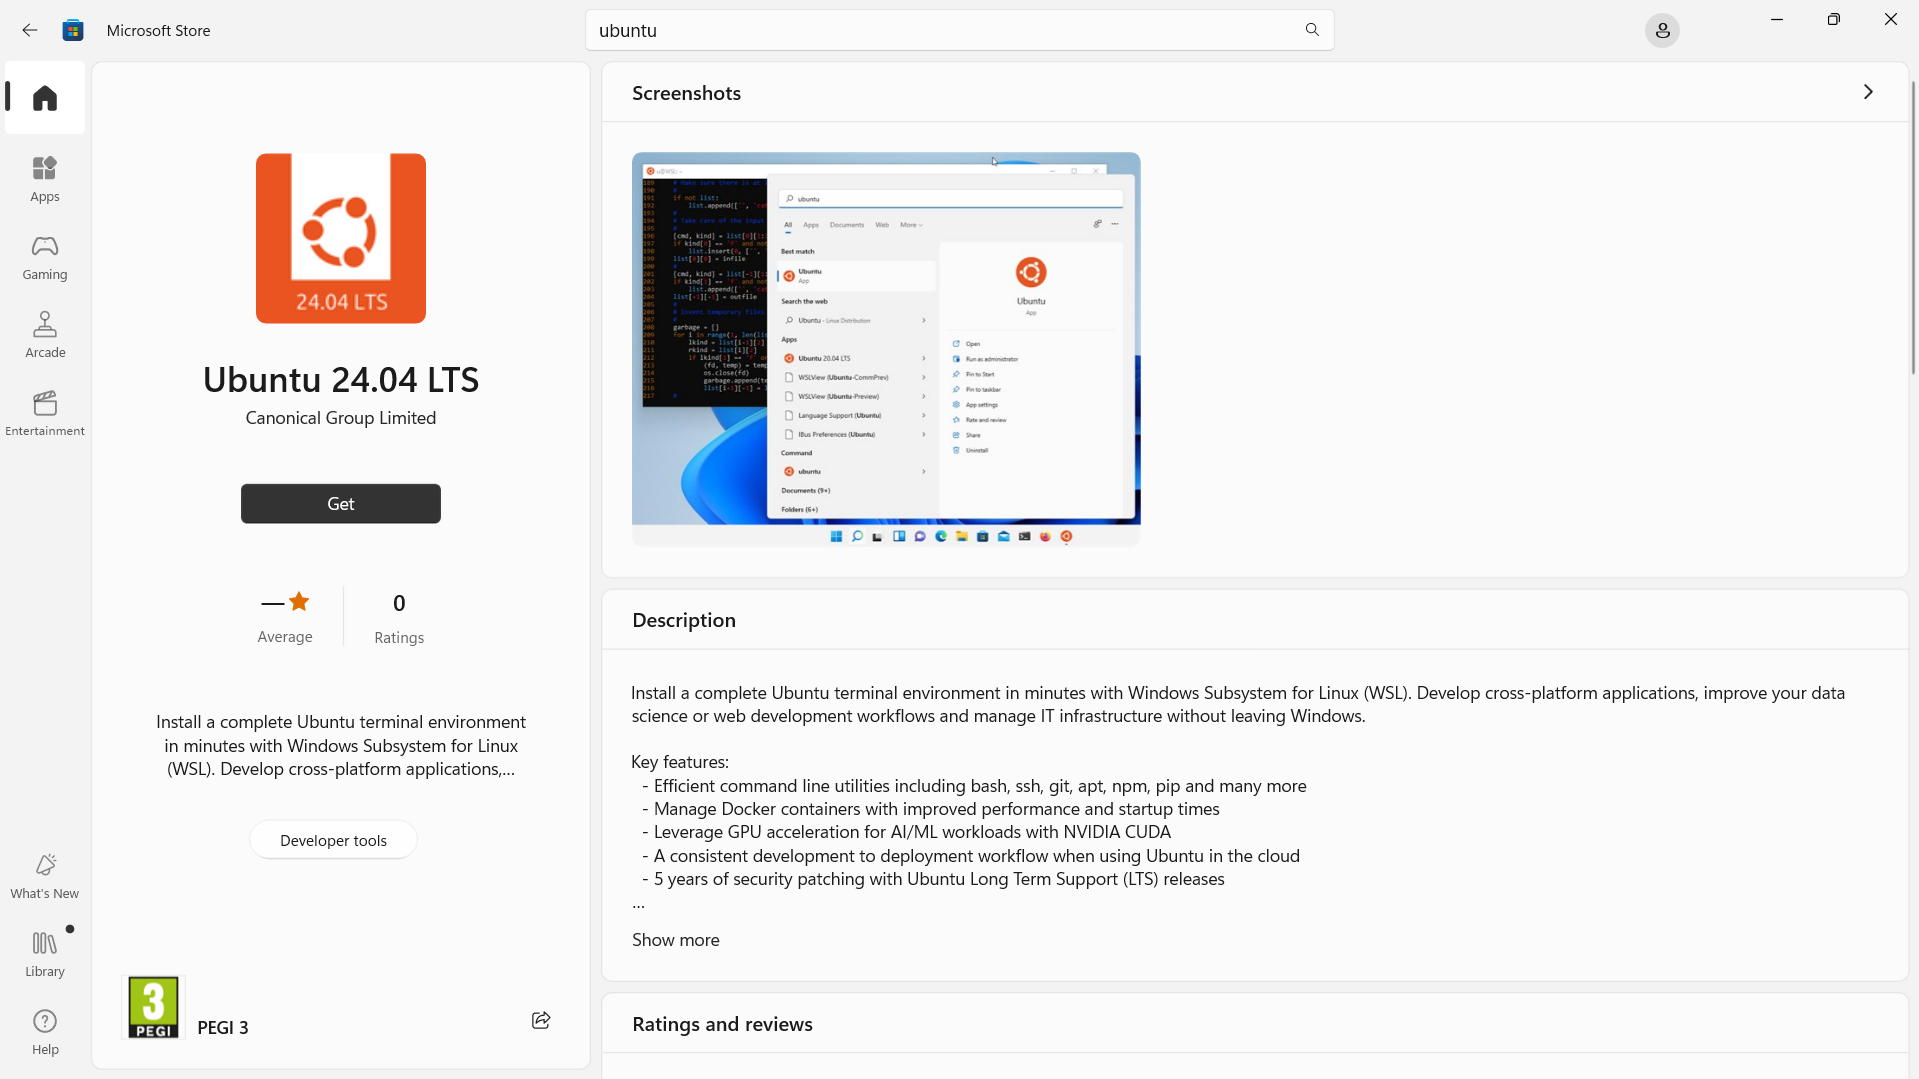
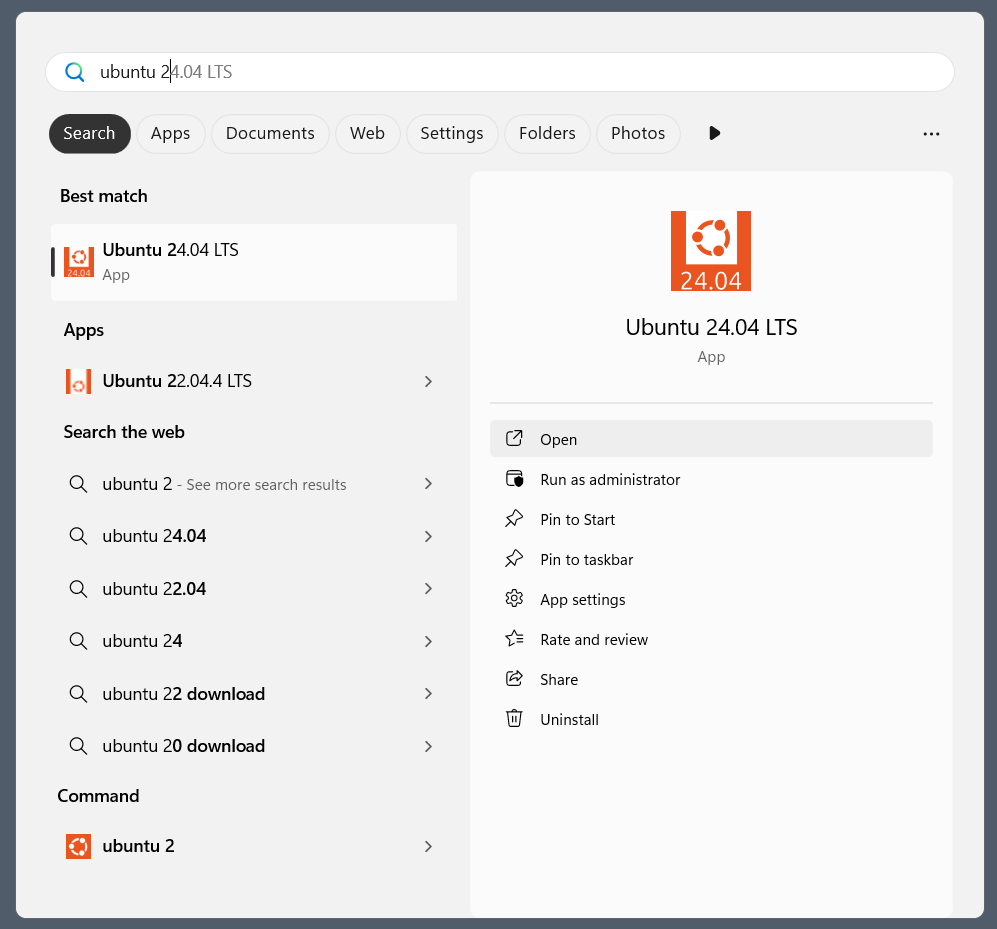
Open the Microsoft Store app on your computer. Search for “Ubuntu” and get the “Ubuntu 24.04 LTS” app. This will take some time to complete.
Ubuntu will then be installed on your machine. Once installed, you can either launch the application directly from the Microsoft Store or search for Ubuntu in your Windows search bar.
Follow the instructions in the Ubuntu terminal to create a username and password for Linux. Note that Linux will not show the password as you type.
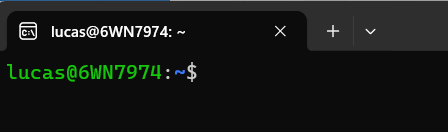
Once everything is complete, you should see a prompt similar to “username@computer_name” on your screen, e.g.: