for VirtualBox
This lab is for those who are on Windows and are running Ubuntu inside VirtualBox using Option 2 for Windows from the Installing a *nix operating system lab.
Installation
- You must request a free PyCharm Professional license. Sign up using your
@uncw.eduemail address. - Open VirtualBox and start up your Ubuntu virtual machine (VM). Sign in to Ubuntu.
- You may want to go full screen. Do this by selecting View -> Full Screen.
- If the Full Screen is small, right-click on the Desktop -> Display Settings then change the Resolution to something larger, probably 1920x1080.
- You exit full screen by hitting
Right CTRL+F
- You should open this page in Firefox launched within Ubuntu for easy copy-and-paste.
- Open a Terminal as described in the Launching a Terminal lab.
- Copy and paste in the following commands. You will need to enter your password.bash
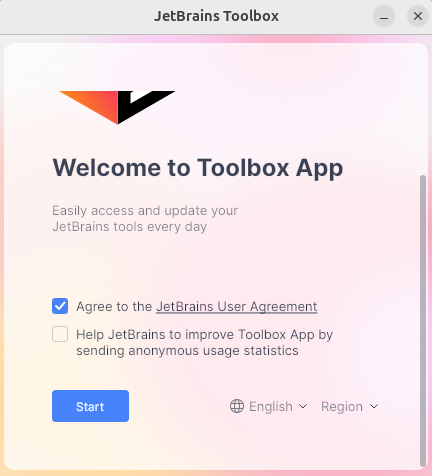
BUILD=2.5.2.35332 sudo apt install libfuse2 libxi6 libxrender1 libxtst6 mesa-utils libfontconfig libgtk-3-bin wget https://download.jetbrains.com/toolbox/jetbrains-toolbox-$BUILD.tar.gz tar -xzf jetbrains-toolbox-$BUILD.tar.gz && cd jetbrains-toolbox-$BUILD && ./jetbrains-toolbox - The commands will take a few minutes to run. You should see a JetBrains Toolbox window popup when done. Agree to the JetBrains User Agreement and click Start (you may need to scroll down in the popup).
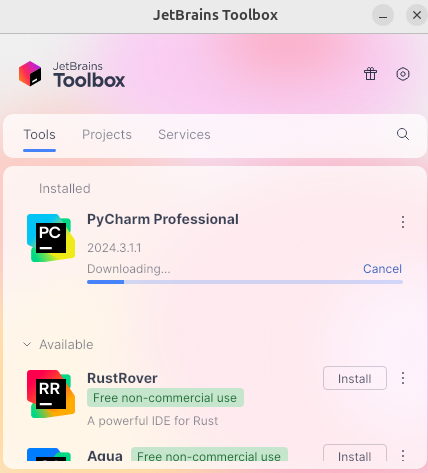
- Scroll down to PyCharm Professional and click “Install”. PyCharm will download.
Running PyCharm
Click on PyCharm Professional in the JetBrains Toolbox.
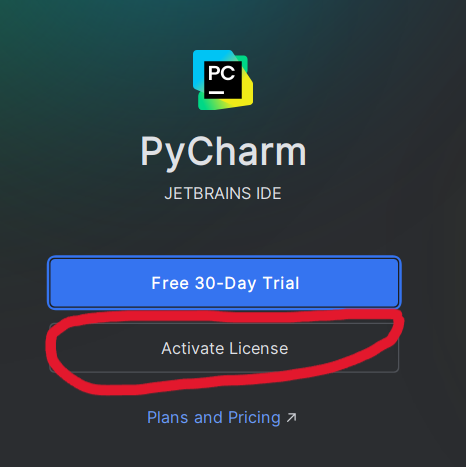
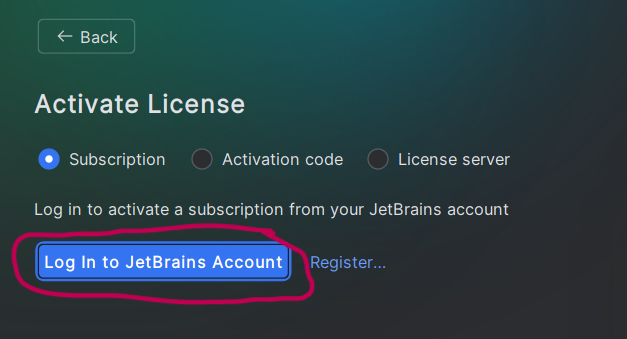
PyCharm will launch and show license prompts. Select “Activate License” then “Log In to JetBrains Account”.
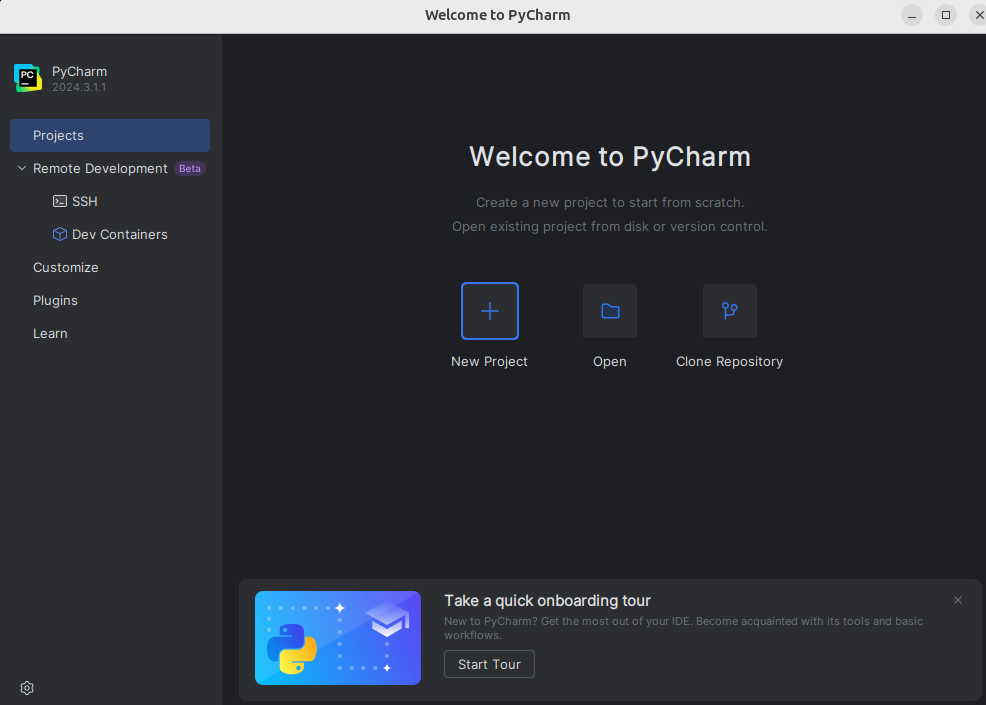
Complete the activation in the web browser. Then go back to PyCharm. You should see that you are signed in. Click “Done” and you should see the main PyCharm launch page.
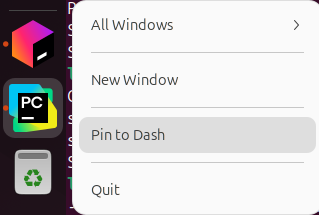
The Ubuntu “Dash Bar” is on the far left of the screen. Right-click on PyCharm and select “Pin to Dash” to easily launch it.
Finally, run the following command in the Ubuntu Terminal, which will create an alias to run PyCharm from the command line:
bashprintf "pycharm() { nohup ~/.local/share/JetBrains/Toolbox/apps/pycharm-professional/bin/pycharm.sh \"\$@\" >/dev/null 2>&1 & }\n" >> ~/.bashrc && source ~/.bashrc
You should now be good to go to develop Python code in Ubuntu.
Test drive
We are going to create a sample project directory in Ubuntu, then open PyCharm and edit files in that Linux directory. A video follows the steps.
- Start a new Terminal in Ubuntu.
- Run the following in the Terminal:Thebash
cd # make sure in your home directory mkdir seng-201 # This directory will hold all our code for the course cd seng-201 # change to the new directory mkdir pycharm-test # Make a new subdirectory for a test project. cd pycharm-test # change into the subdirectory pycharm . # launch PyCharm in the current directorypycharmcommand launches the PyCharm program. The commandpycharm .says launch Pycharm and have it open the current working directory. The symbol.always means the working directory. Sometimes it will be necessary to explicitly tell the CLI we are referring to the working directory; more on those situations as they arise. - A PyCharm window will open after a moment.
- You may be asked if you “trust the authors of the files in this folder”. Click the checkbox and then pick “Yes, I trust the authors.”
Here is the process in a video:
Creating a new file
Let’s create a file in the Terminal in our project directory. We should see it immediately in PyCharm.
- Go back to your Ubuntu terminal and make sure you are in the
pycharm-testdirectory. - Type the command
touch hello.pyto create an empty Python file. - Go back to PyCharm. You should see the file
hello.pyin the directory here. Click on it and it will open an empty editor pane. - In the code editor, type
print("Hello World"). - Go back to the Ubuntu Terminal and type
cat hello.py. You should see the code.
Next
So you now have PyCharm successfully editing files and interacting with directories inside Ubuntu.
You are now ready to code! Move on to PyCharm Basics lab.