Assignment 2 - Composition and Stateless Widgets
Due
Sunday, February 9 @ 11:59pm via GitHub
Objective
To gain practice composing Flutter apps and to familiarize yourself with the Stateless widgets introduced in class.
Collaboration
This assignment may be completed in pairs. Both partners receive the same grade. You must follow the GitHub workflow when working on this assignment.
Setup
GitHub Classroom Signup
- Sign up for a GitHub account if you do not already have one. I recommend you use a personal email.
- Follow this link to GitHub: https://classroom.github.com/a/O1GCj5al. Authorize GitHub Classroom to access the data it requests.
- Select your name from the list.
- The next screen talks about teams:
- if you are working alone: create a new team using your last name
- if you are working in a pair:
- The first person to sign up should create a team named “<your lastname>-<partner’s lastname>”, e.g., “smith-jones”
- The second person to sign up should click “Join” on the appropriate team from the list.
- Click “Accept the assignment” on the next page.
- Once you reach the last page, refresh it periodically you receive a link to your repository webpage. Bookmark your team’s website.
Check out the project to Visual Studio Code
- Go to File Menu -> New Window. You should see an “empty” copy of VSCode pop open.
- Click the Explorer icon on the left.

- Click the Clone Repository button. Paste in the URL of the GitHub repository. Hit Enter. You may need to enter your GitHub email and password.
- A file browser will pop up and ask you where to clone the repository on your local machine. Select the folder where you are keeping your Flutter projects.
- VSCode will clone the code from GitHub to your machine. A pop-up will appear asking if you would like to open the cloned repository – click ‘Open’.
- Click on the Explorer Pane icon to see the Flutter project files. Open
lib/main.dart. - A pop-up should prompt you to “Run pub get”. Do this. If no pop-up, open the Command Palette (View -> Command Pallette), and search for and run “pub get”.
- You are now ready to work on the project. You must follow the GitHub workflow when working on this assignment. It is extremely important if you work on a team or if you use multiple computers.
Instructions
You have a skeleton of a Flutter app already provided for you. The app has a HomeScreen widget shown when the app starts. The home screen has several buttons you can tap that launch other screens. We will cover navigating between screens in the coming weeks.
There is a PlaceHolder widget in each of the ScreenOne–ScreenFour widgets defined in main.dart. Delete this widget and replace it with the widget(s) that are required to achieve the UIs described below.
- Do not edit the HomeScreen widget.
- Test your application on a phone (real or emulated).
- You may use other widgets than those specified, but you must obtain the exact look demonstrated in each screenshot.
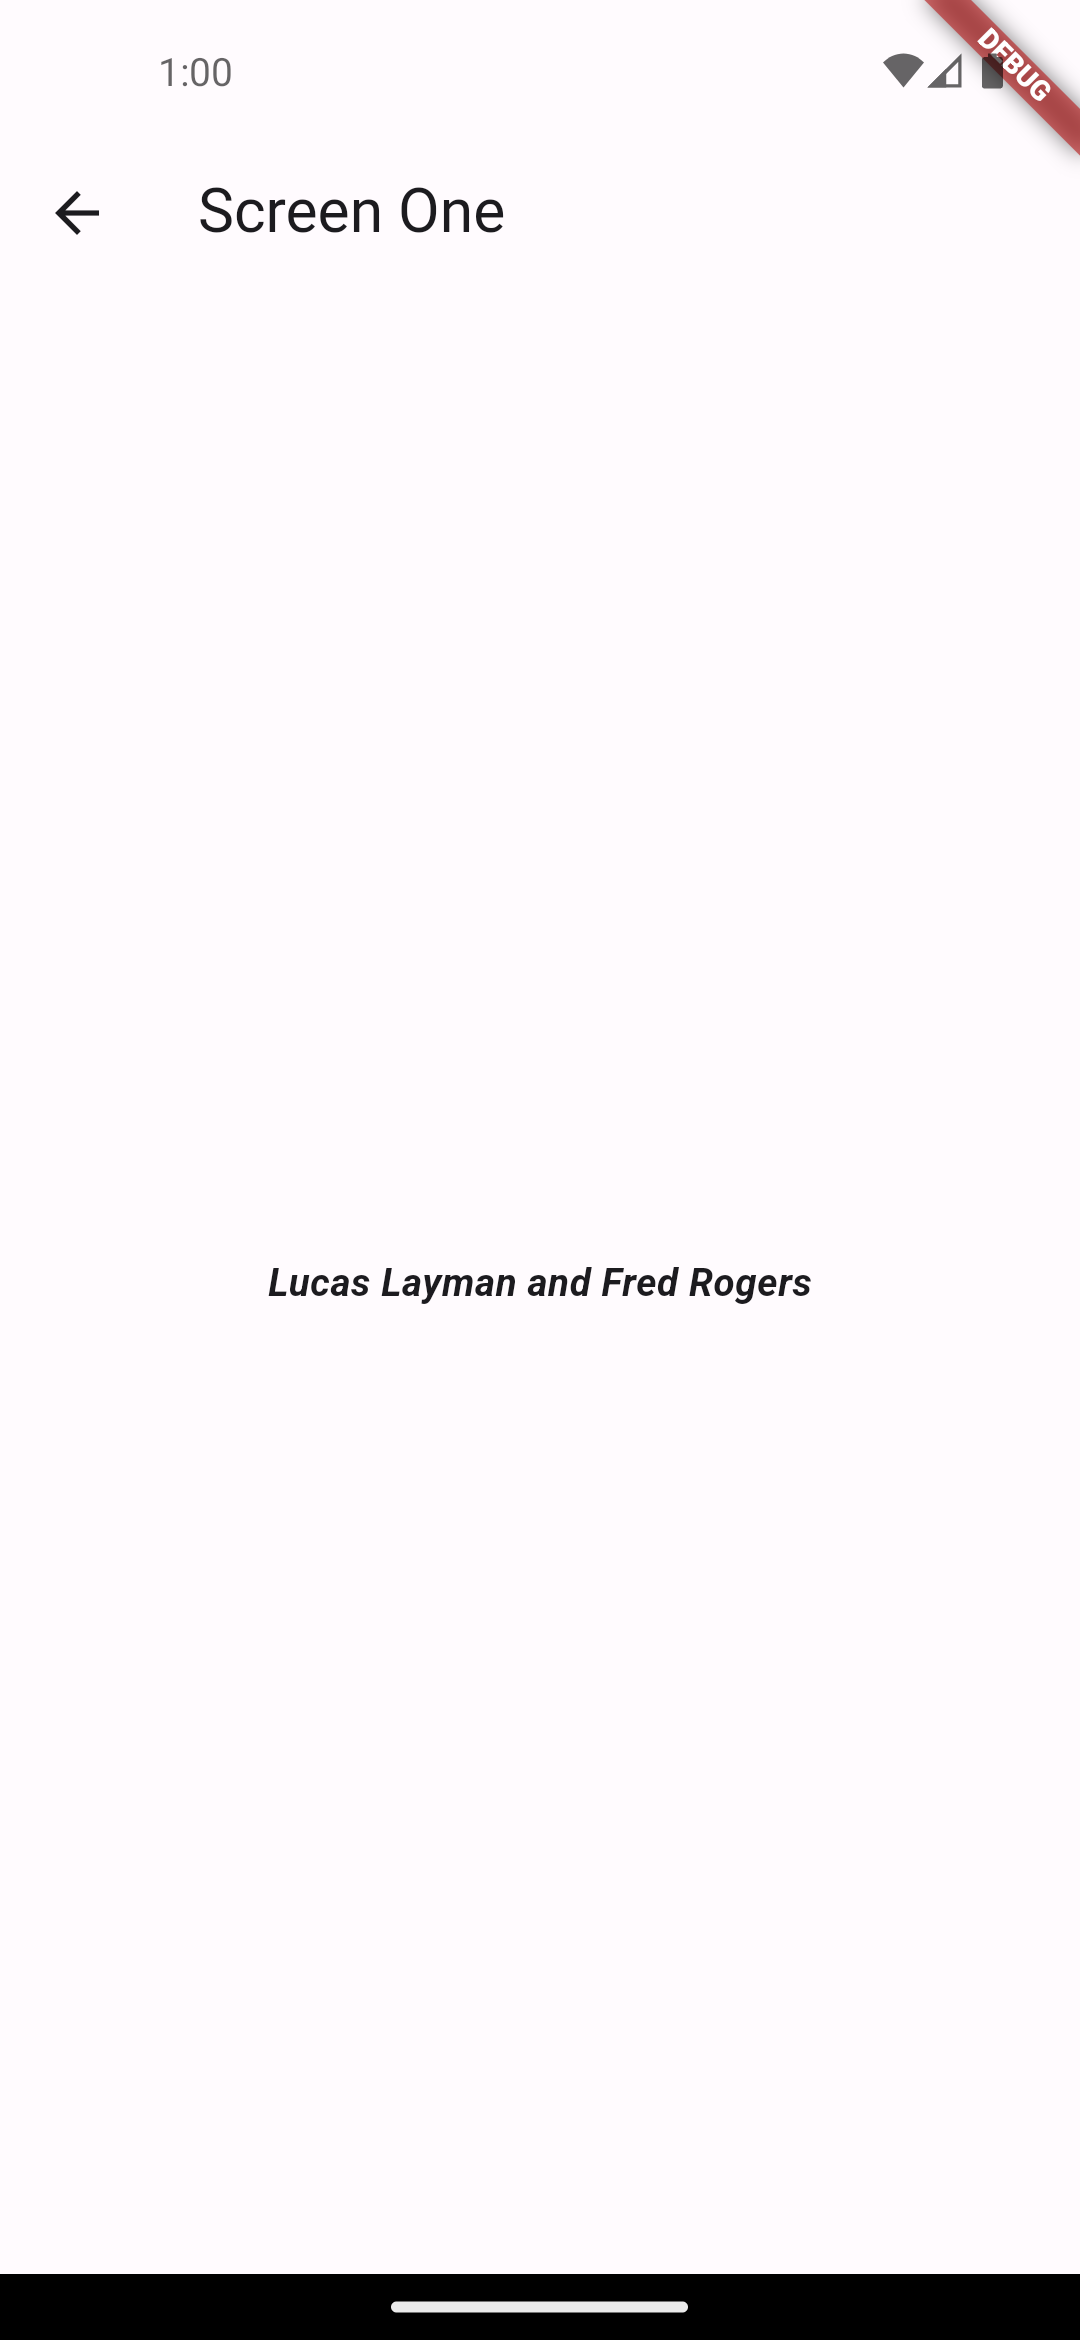
Screen One
Display your name (and your partner’s name if you have one) on one line italicized and boldfaced in the center of the screen.
You can achieve this with the Text, TextStyle, and Center widgets.
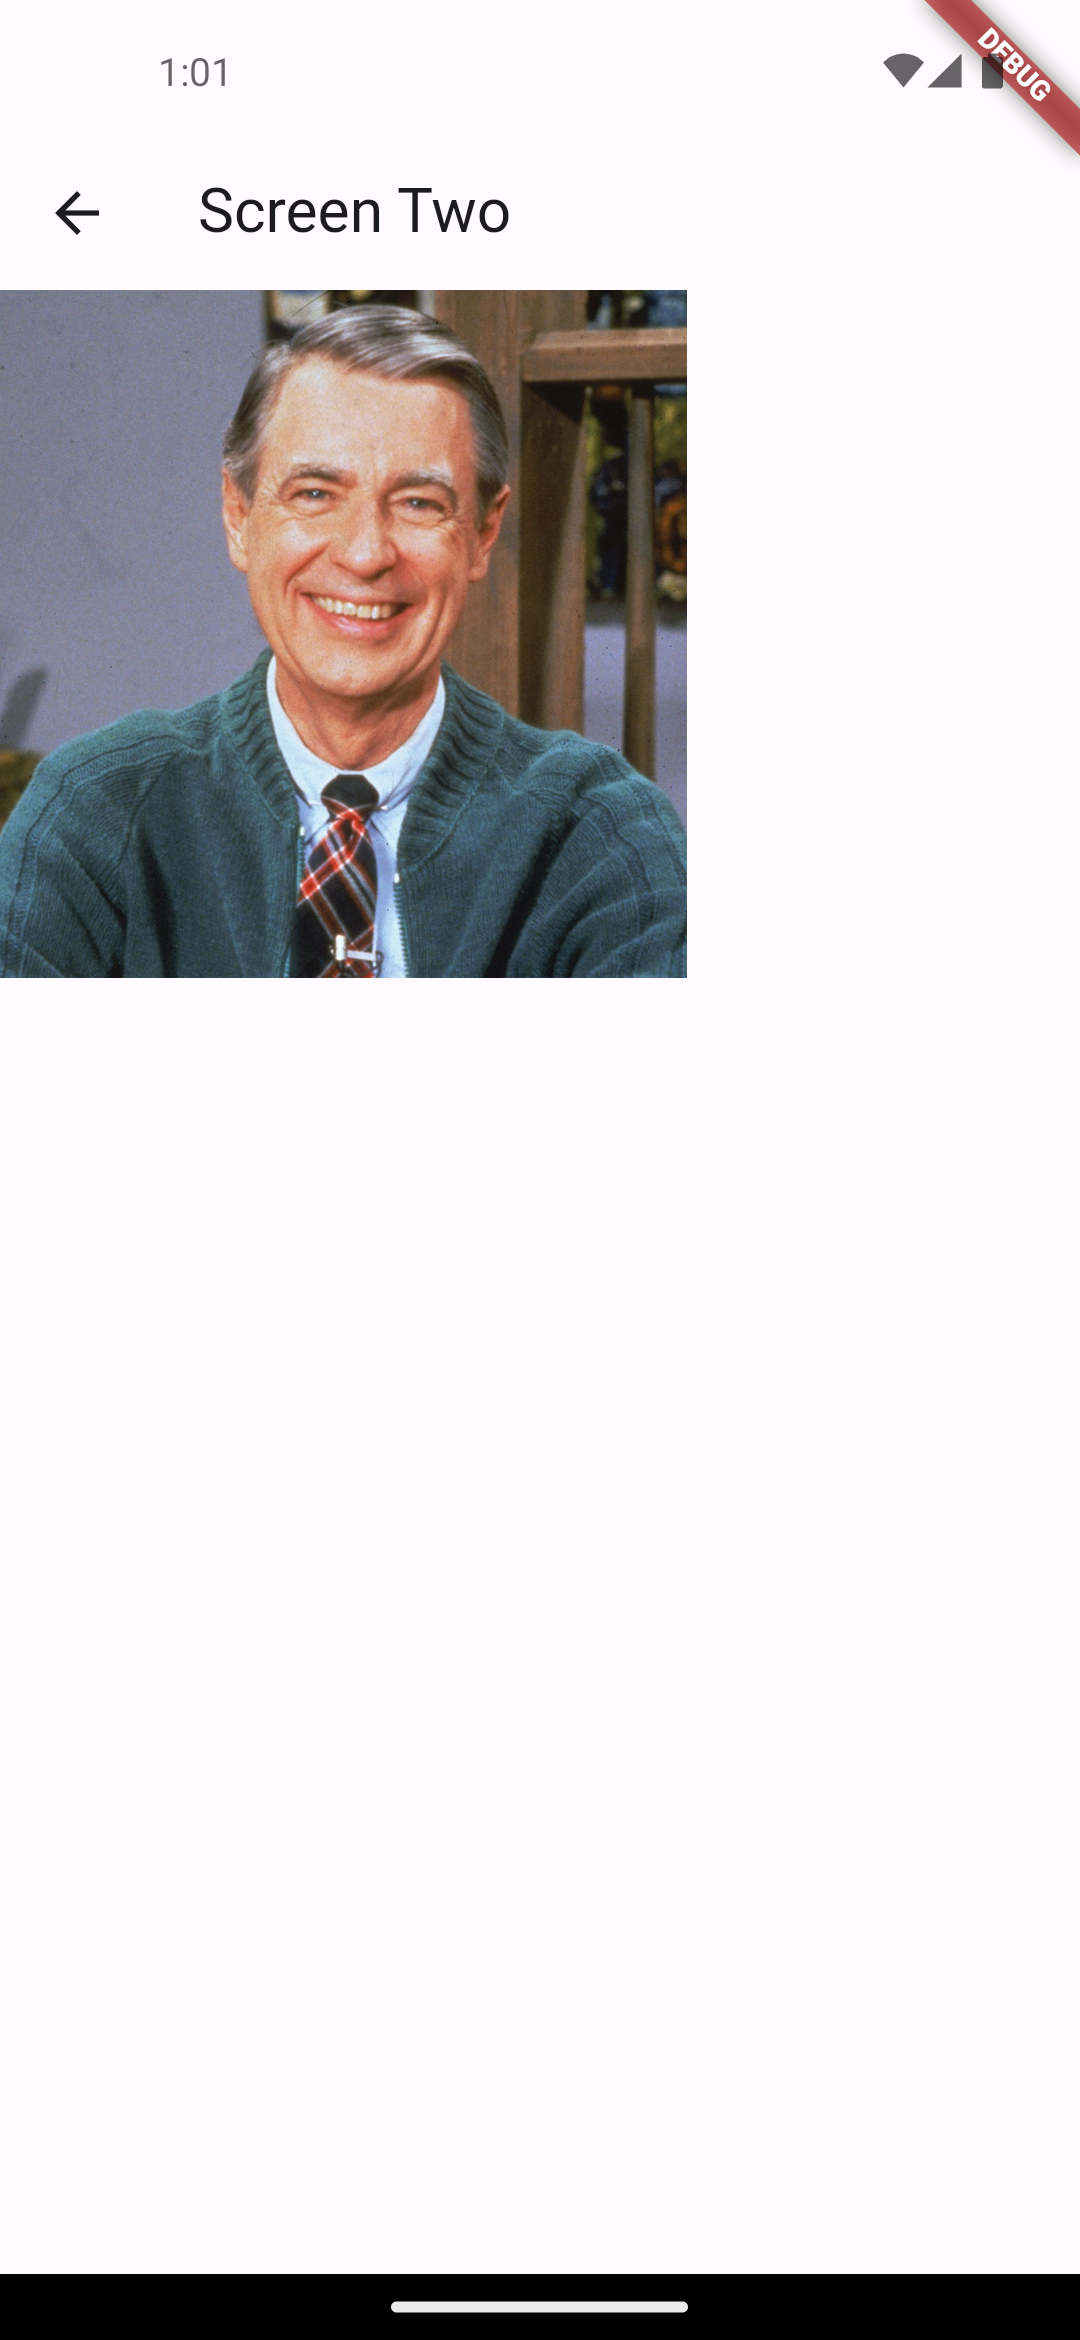
Screen Two
Add an image of your choice to the top of the screen (I chose Mr. Rogers). You must configure your app to use image assets. You must limit your image to 250 pixels wide using a widget.
You can achieve this using only an Image widget (you must look at its constructor parameters), or a combination of an Image and a SizedBox.
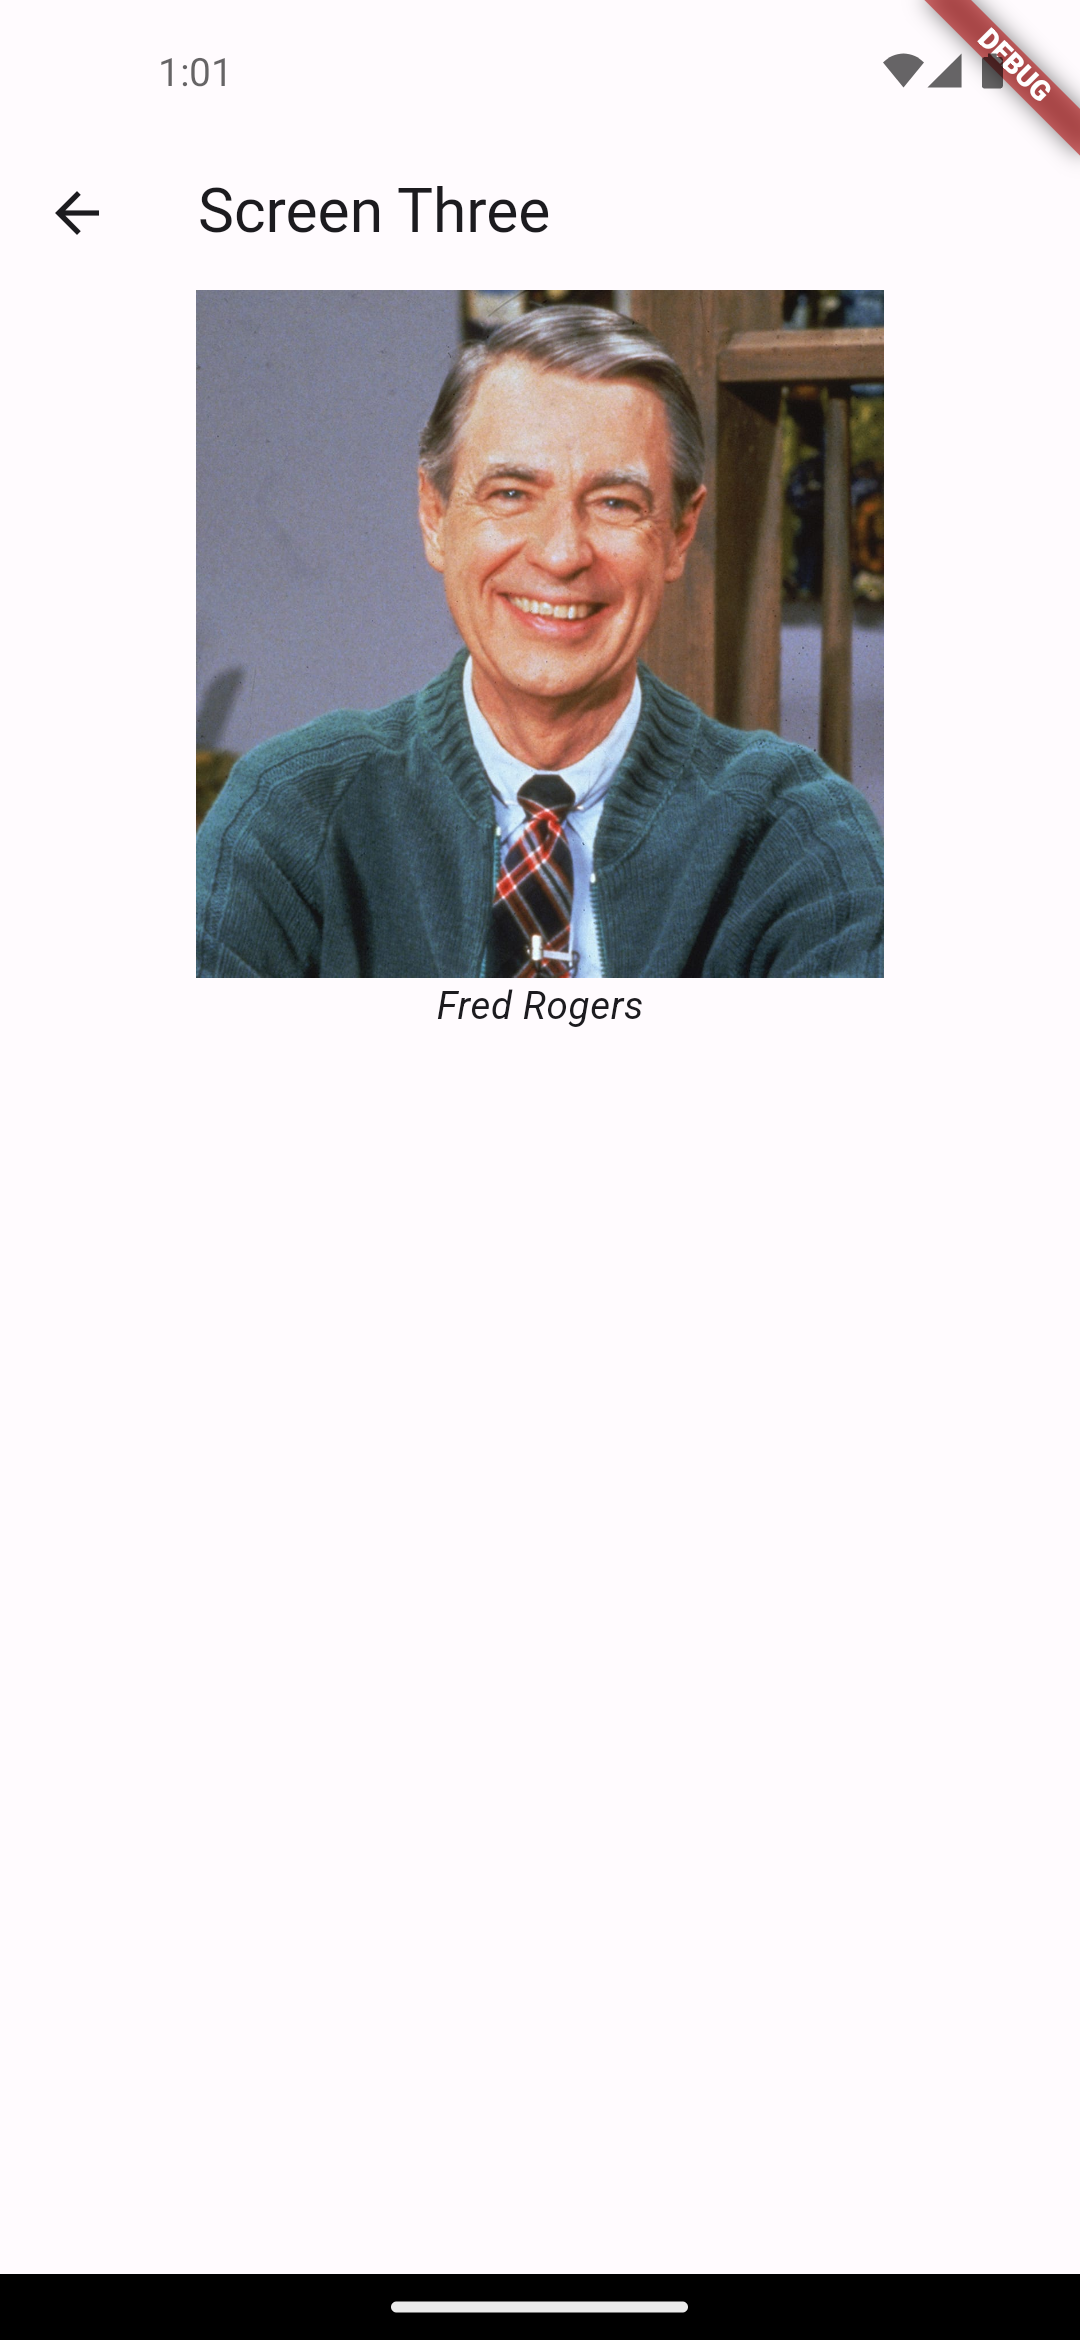
Screen Three
Add an image of your choice to the top center of the screen. You must limit your image to 250 pixels wide using a widget. Place an italicized text centered below the widget that describes the image.
You will need to use a Column widget.
Screen Four
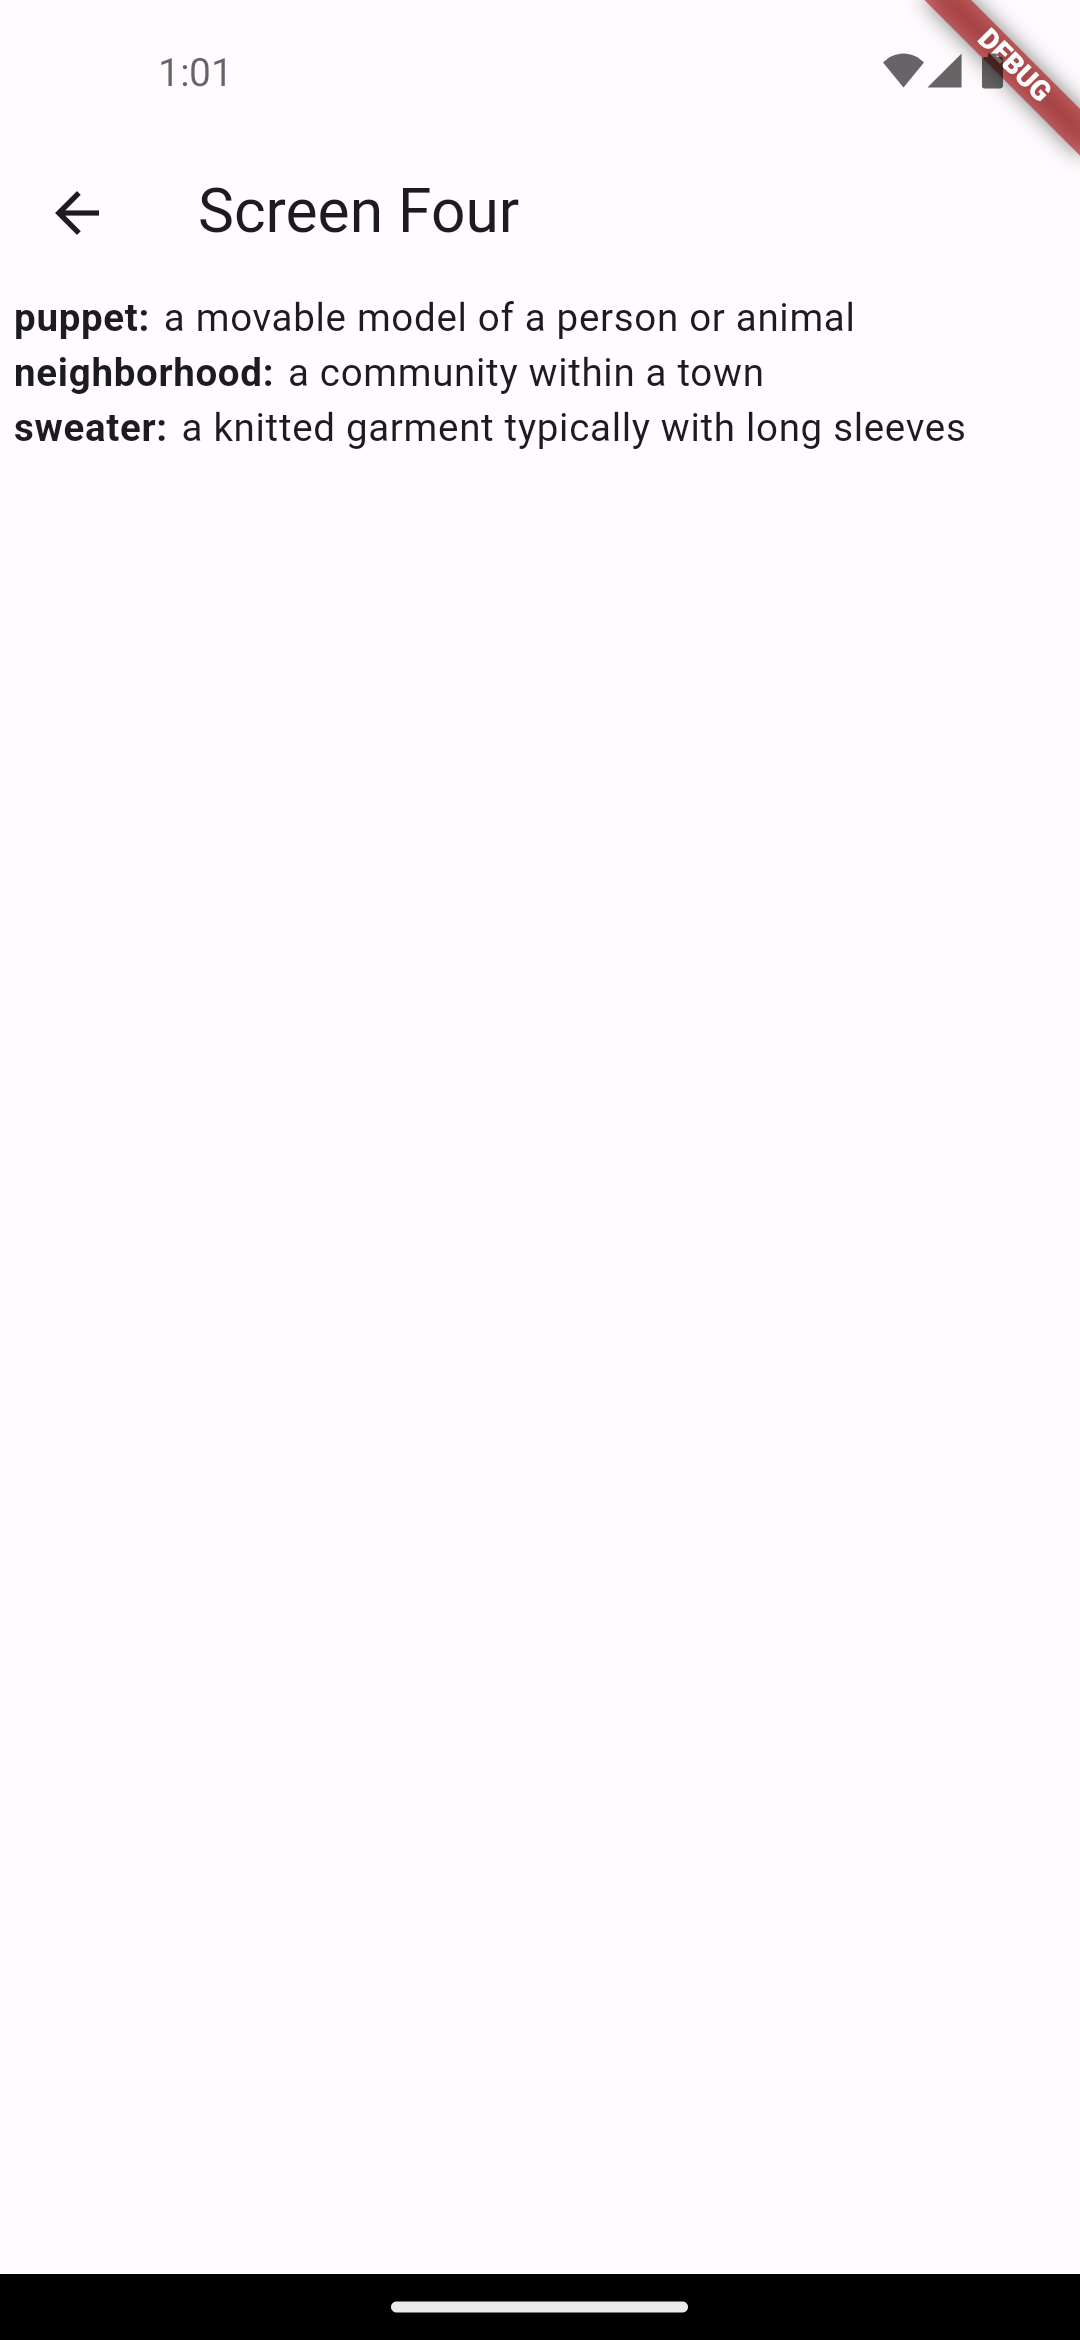
Create your own class called TermDefinition that extends StatelessWidget. The idea of this widget is to display some text in a style similar to a dictionary. The TermDefinition widget must have two class variables: the term and the definition, which must both be non-null Strings. Define a constructor for the class.
- Display
termand a colon as bold-faced text, followed by thedefinitionin regular font on the same line. - Your
TermDefinitionwidget must use aRowwidget. - Create some space between the left edge of the screen and the
termwidgets. - Create some space between the
termanddefinitionwidgets.
On ScreenFour, use your new TermDefinition widget to display the following definitions in a Column.
- Puppet: a movable model of a person or animal
- Neighborhood: a community within a town
- Sweater: a knitted garment typically with long sleeves
Submission
Commit and push (synchronize) your completed code to GitHub. Verify the code is submitted by going to the GitHub repostory URL in a web browser.
You do not submit anything to Canvas.