Basic Navigation
- Objectives
- Setup
- Navigation basics
- The Navigation stack
- Implementing simple navigation
- Adding a Navigation Drawer
- A word on Tabs and Bottom Navigation
- Other Resources
Objectives
- To understand Flutter’s navigation stack model
- To implement basic forward- and backward-navigation with the Navigator widget
- To implement a navigation Drawer
Setup
We will pick up where we left off with the Lists and Grids lab.
**Only if you need to catch up from last time:**
- Download and unzip lists_and_grids.zip. It will create a folder called
lists_and_grids. Move this folder to be with your other Flutter projects. - Replace main.dart with the completed
main.dart.
**Everyone**:
Starting with that code, replace the main() method at the top of main.dart with the following. DO NOT overwrite the existing ListScreen, GridScreen, or MyCard widgets.
void main() {
  runApp(const MaterialApp(title: "BobRoss", home: HomeScreen()));
}

class HomeScreen extends StatelessWidget {
  const HomeScreen({super.key});

  @override
  Widget build(BuildContext context) {
    BobRossData data = BobRossData();
    return Scaffold(
      appBar: AppBar(title: Text("Home")),
      body: Center(
        child: Column(
          mainAxisAlignment: MainAxisAlignment.center,
          children: [
            ElevatedButton(
              onPressed: () {},
              child: Text("Go to ListView Screen"),
            ),
            ElevatedButton(
              onPressed: () {},
              child: Text("Go to GridView Screen"),
            )
          ],
        ),
      ),
    );
  }
}
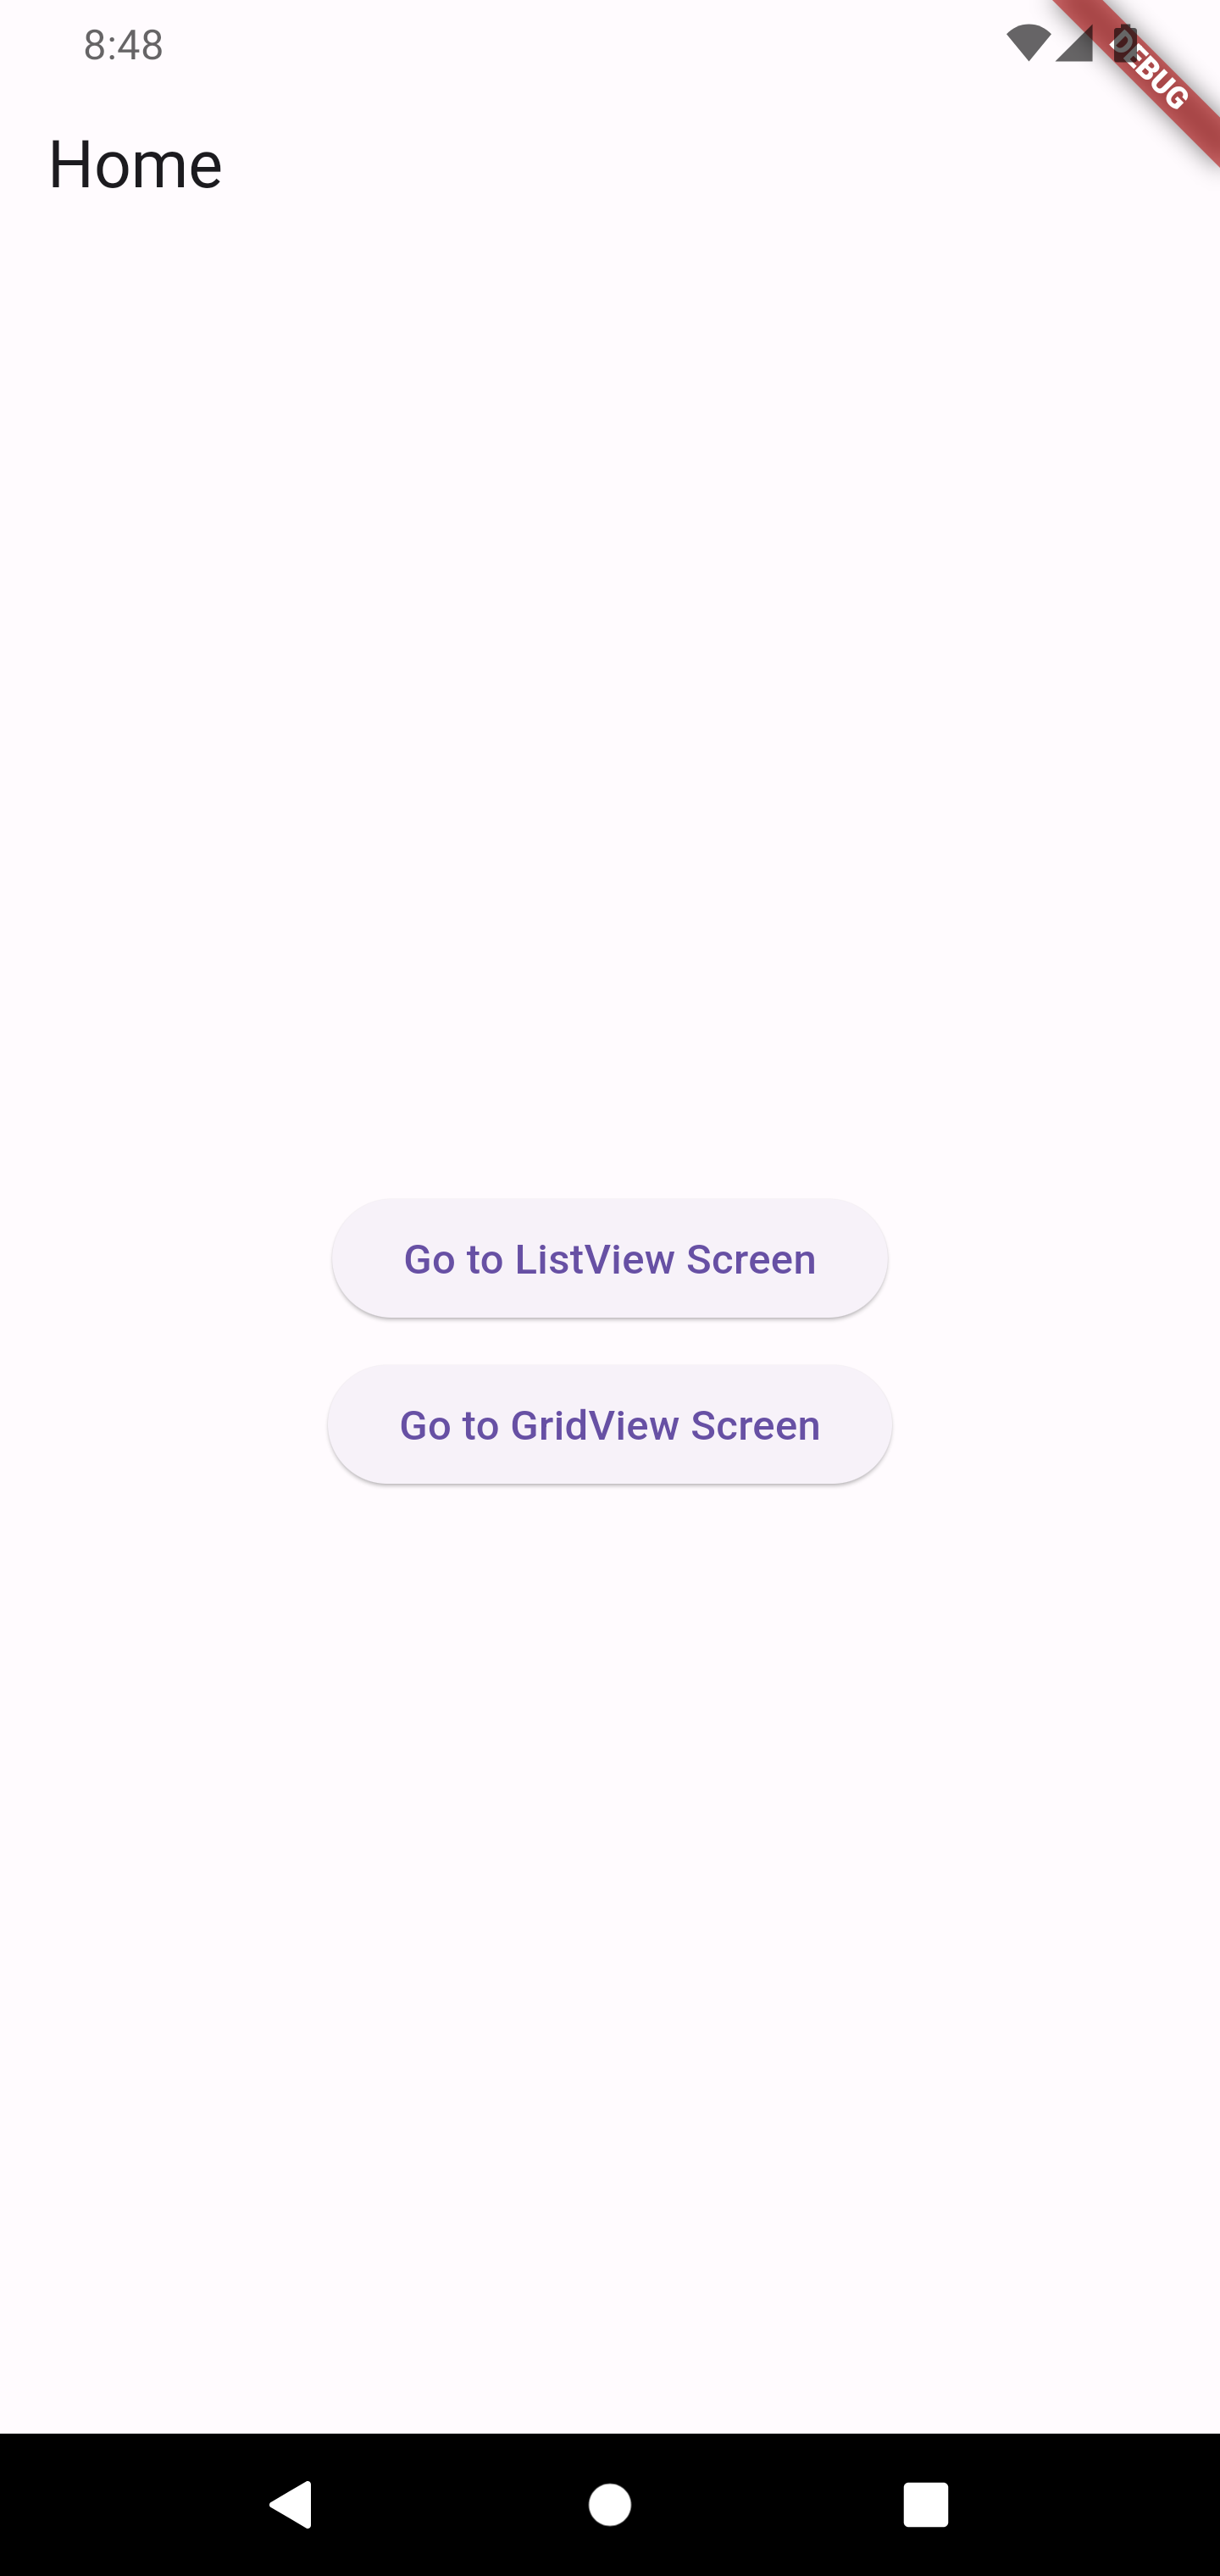
You should see the following when you run the app:
Navigation basics
Navigation is the term for transitioning between screens in Flutter. A route specifies the screen to which you want to navigate.
The Navigator widget provides us with the internal mechanics to navigate between screens. This widget does not appear on the screen, but it is integrated with the MaterialApp widget that is the base of your applications.
We are going to show the simplest forms of Flutter navigation in this lab. But, know that there are more customizable navigation capabilities available in the official documentation.
The Navigation stack
Conceptually, navigation from one screen to another is best thought of as a stack as illustrated below:
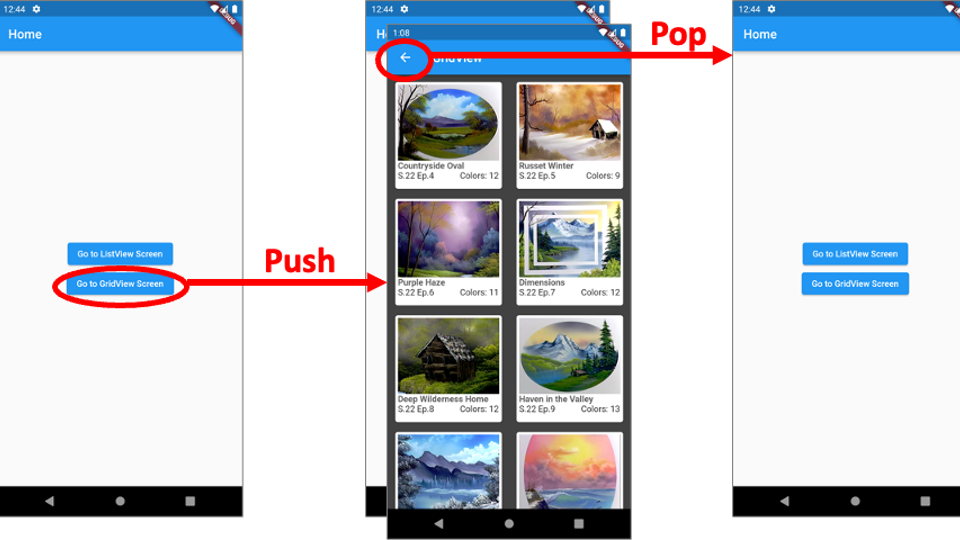
- Suppose you are on the HomeScreen and you push the button to “Go to the GridView Screen”.
- Flutter pushes the GridScreen widget on top of the HomeScreen widget in the navigation stack. This is called forward navigation. The HomeScreen widget is still alive in the widget tree, you just can’t see it any more. Any state/data/variable values in the HomeScreen are preserved. You are not destroying the HomeScreen widget.
- Notice how a “back” button has appeared in the GridScreen’s app bar. You get this for free in Flutter. Pushing the Back button pops the top widget off the navigation stack. This is called backward navigation. In this case, the GridScreen widget is popped, which does destroy the GridScreen widget.
- The original HomeScreen widget is once again at the top of the Navigation stack, and Flutter displays that screen.
This is a simple example of forward and backward navigation. The example shows two screens on the stack, but you can forward navigate until you have many screens in your navigation stack.
Implementing simple navigation
Let’s add some code to the ElevatedButtons in the HomeScreen widget to perform the navigation. Note that the ElevatedButtons have onPressed properties that specify empty anonymous functions. Put the following code in the onPressed function body for the ListView button:
Navigator.push(
    context,
    MaterialPageRoute(
        builder: (context) => ListScreen(data.paintingNames)),
);
This is the recipe for going to a new screen in Flutter.
Navigator.push(...)tells Flutter we want to do forward navigation.- the
MaterialPageRoute(...)tells the navigator the route we want to go. - the
ListScreen(...)is the widget to which we want to navigate and display. The only variable part of this recipe is theListScreen(data.paintingNames). This is the constructor call to the widget we want to navigate to. It just so happens that ourListScreenwidget requires a single parameter – but you could navigate to a widget that has no parameters, likeHomeScreen()itself.
Click the “Go to ListView Screen” button and you will see the ListScreen widget transition to the foreground of the app. Note that the Back arrow appears in the app bar at the top of the ListScreen. We get this functionality for free because our ListScreen contains a Scaffold with an AppBar specified. If you are on Android, the system-level back button (the sideways triangle at the bottom of the device) will also backward navigate. If you are on iOS, the general “swipe backward” navigation will also work.
Exercise: adapt the navigation recipe for the onPressed property of the GridView button so that it routes to the GridScreen widget.
Explicit backward navigation
Sometimes, you may want some other user interaction to take you backward, like clicking on a specific button or tapping a menu option.
Let’s add another screen to our app:
class DetailScreen extends StatelessWidget {
  const DetailScreen({this.painting, super.key});

  final BobRossPainting? painting;

  @override
  Widget build(BuildContext context) {
    Widget contentToShow;

    if (painting != null) {
      contentToShow =
          Image.asset("assets/images/painting${painting!.paintingId}.png");
    } else {
      contentToShow = Text("Nothing to show! How did you get here?");
    }

    return Scaffold(
        appBar: AppBar(title: Text("Detail Screen")),
        body: Center(
          child: Column(
            children: [
              contentToShow,
              ElevatedButton(
                  onPressed: () {
                    Navigator.pop(context);
                  },
                  child: Text("Go Back"))
            ],
          ),
        ));
  }
}
Note how this screen has an optional constructor parameter. We show an text message if that parameter is null, and try to display an image using the painting parameter otherwise.
Add another ElevatedButton to the HomeScreen so that we can navigate to our new DetailScreen widget directly.
ElevatedButton(
  onPressed: () {
    Navigator.push(
        context,
        MaterialPageRoute(builder: (context) => DetailScreen()),
    );
  },
  child: Text("Go to the Detail Screen"),
)
Note that the Navigator route says to go to the DetailScreen but does not pass the optional argument. Try it out. You should see the following:
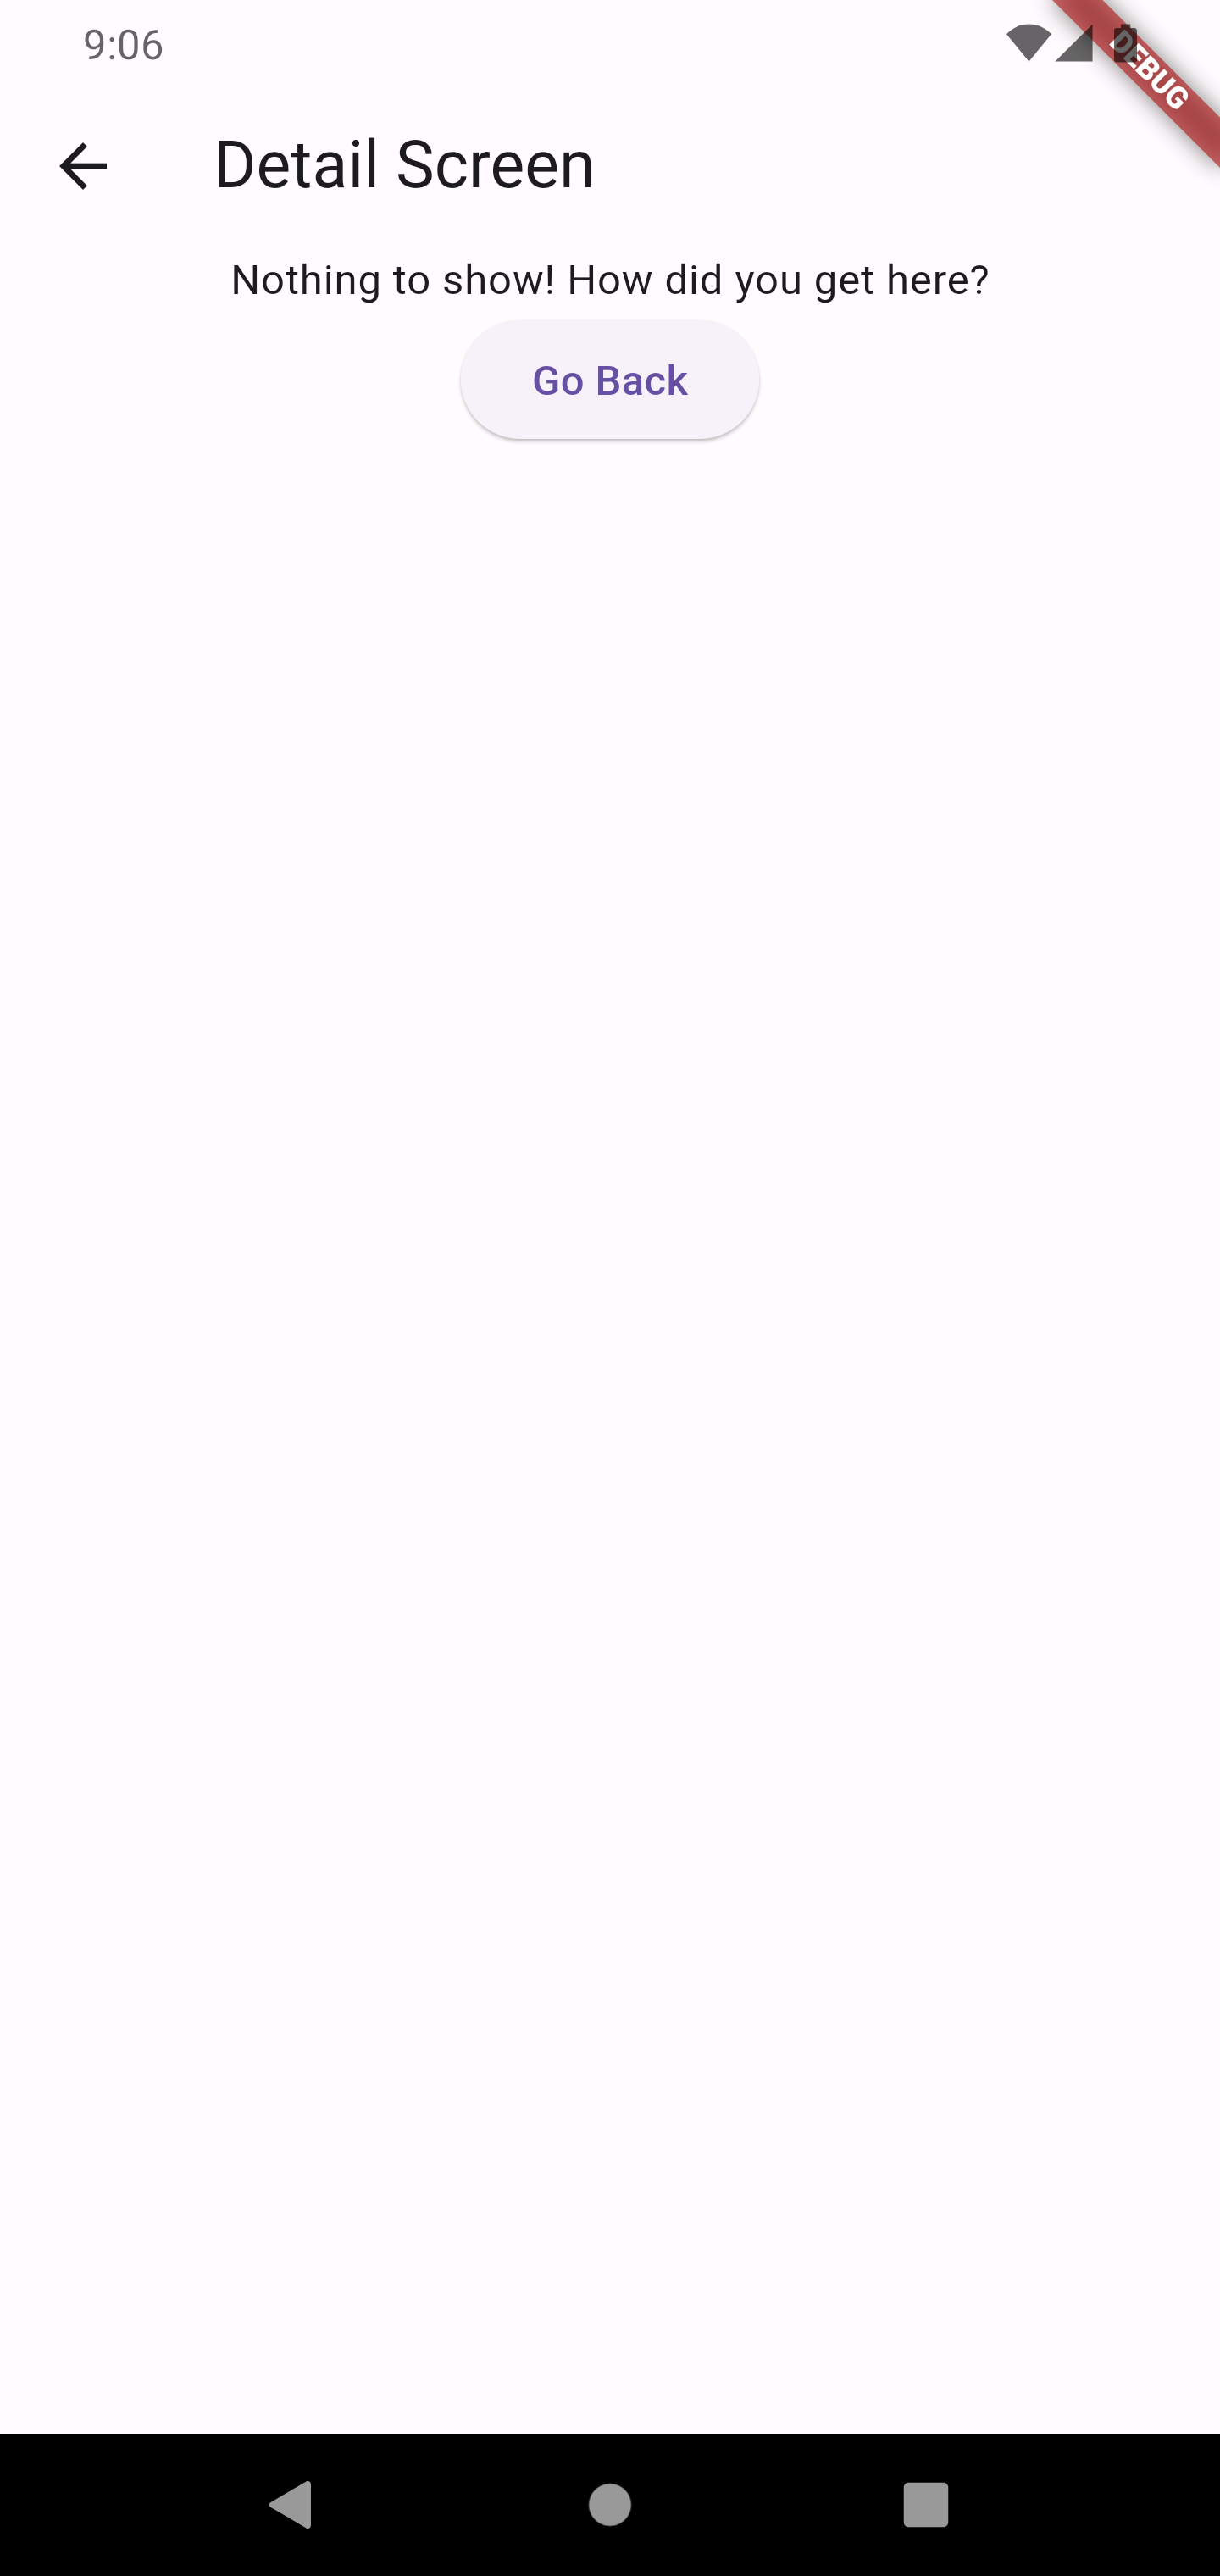
Note the “Go Back” button – the onPressed property expressly calls Navigator.pop(context). This has the same functionality as hitting the Back button in the app bar.
Navigating with something other than buttons
In our example thus far, the Navigator code only appears in onPressed properties of ElevatedButtons. However, you can call the Navigator code from just about anywhere. Let’s make it so that tapping a Card in our GridView launches the DetailScreen and displays a bigger image of the tapped painting.
Go to the MyCard widget. The root of this widget is a Card, which does not have any built-in onPressed functionality like an ElevatedButton. We need to wrap the Card with a GestureDetector to respond to taps and navigate to the DetailScreen.
Wrap the Card widget in a GestureDetector such that the beginning of MyCard’s build method looks like this:
  @override
  Widget build(BuildContext context) {
    return GestureDetector(
        onTap: () {
          Navigator.of(context).push(MaterialPageRoute(
            builder: (context) => DetailScreen(painting: painting),
          ));
        },
        child: Card(
          // Rest of the Card code here
You will also need to add a ) before the semicolon near the end of the build method.
Notice now how we are passing an optional painting argument to the DetailScreen constructor. Our DetailScreen widget has an if-statement to try and load an image based on the contents of the painting parameter.
Navigate to your GridView screen and try tapping on one of the images. You should see the following:
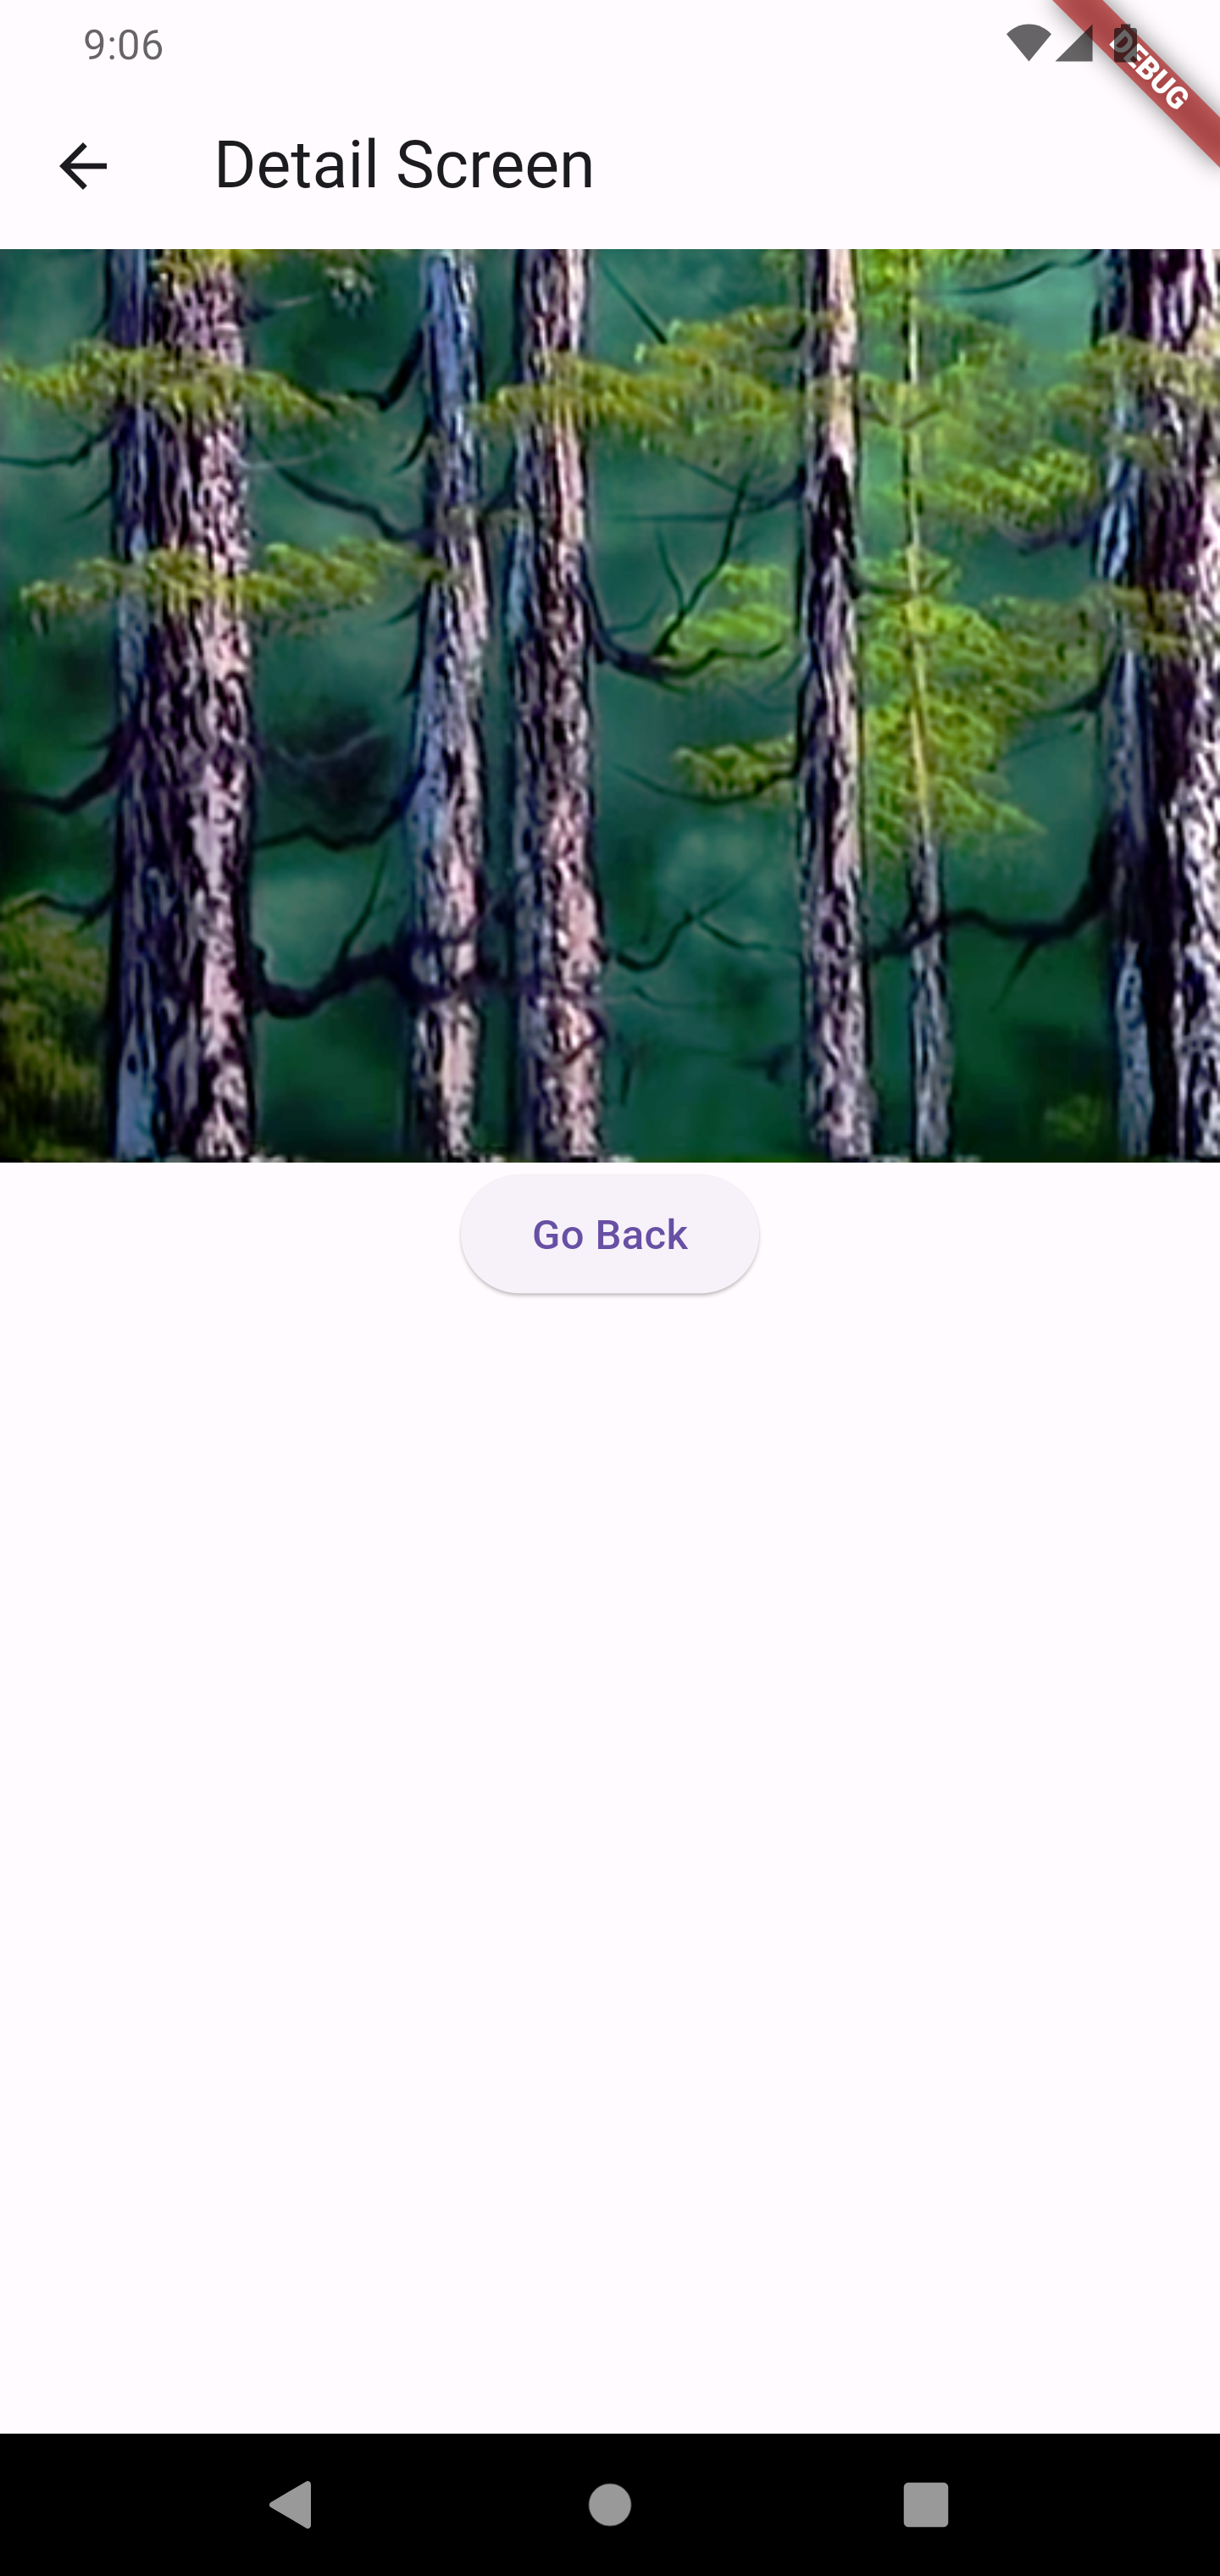
Your navigation stack is now three deep as well, and you can hit the Back button in the app bar multiple times.
Adding a Navigation Drawer
You may want to have a navigation menu in your app like you might find on a website – a list of static “links” to other parts of your app. In the Material Design language, this widget is called a Drawer.
You define and attach a Drawer widget to a Scaffold widget. The Drawer widget slides out from the side of the screen and displays its children, which is where the interaction takes place.
Let’s go to the HomeScreen widget and add a Drawer that displays the navigation options in a ListView. I could use a Column instead of a ListView, but the ListView will ensure that the user can scroll the Drawer’s contents if they don’t fit.
Add the following drawer property to the Scaffold on your HomeScreen:
      drawer: Drawer(
          child: ListView(
        padding: EdgeInsets.zero,
        children: [
          DrawerHeader(
            decoration: BoxDecoration(color: Colors.blueAccent),
            child: Text("Pick a place"),
          ),
          ListTile(
            leading: Icon(Icons.home),
            title: Text("Home Screen"),
            onTap: () {
              Navigator.of(context)
                  .push(MaterialPageRoute(builder: (context) => HomeScreen()));
            },
          ),
          ListTile(
            leading: Icon(Icons.list),
            title: Text("List Screen"),
            onTap: () {
              Navigator.of(context).push(MaterialPageRoute(
                  builder: (context) => ListScreen(data.paintingNames)));
            },
          ),
          ListTile(
            leading: Icon(Icons.grid_3x3),
            title: Text("Grid Screen"),
            onTap: () {
              Navigator.of(context).push(MaterialPageRoute(
                  builder: (context) => GridScreen(data.paintings)));
            },
          )
        ],
      )),
You should now be able to access the drawer from the “hamburger menu” in the top left and click on the tiles to navigate to your screens:
Closing the drawer
When you open the Drawer, Flutter adds it to the navigation stack. So if you navigate back to the HomeScreen, you will see that the drawer is still open. IF you want the drawer to still be open, no worries. If you want to close the drawer when someone taps on a ListTile, simply put Navigator.pop(context); on the line before the Navigator push(), e.g.,
onTap: () {
  Navigator.pop(context);
  Navigator.of(context).push(MaterialPageRoute(
      builder: (context) => GridScreen(data.paintings)));
},
Reusing the Drawer
Note that our Navigation drawer does not appear on the ListScreen, GridScreen, or DetailScreen. This is because the drawer must be added to each Scaffold widget separately. However, it is very likely that you want the same navigation drawer to appear on each screen. What can you do? Simply pull out the Drawer widget into your own custom Stateless widget, then reference that new widget in the Scaffold’s drawer property on each screen:
class MyNavDrawer extends StatelessWidget {
  const MyNavDrawer({super.key});

  @override
  Widget build(BuildContext context) {
    return Drawer(
        child: ListView(
      padding: EdgeInsets.zero,
      children: [
        DrawerHeader(
          decoration: BoxDecoration(color: Colors.blueAccent),
          child: Text("Pick a place"),
        ),
        ListTile(
          leading: Icon(Icons.home),
          title: Text("Home Screen"),
          onTap: () {
            Navigator.pop(context);
            Navigator.of(context)
                .push(MaterialPageRoute(builder: (context) => HomeScreen()));
          },
        ),
        ListTile(
          leading: Icon(Icons.list),
          title: Text("List Screen"),
          onTap: () {
            Navigator.pop(context);
            Navigator.of(context).push(MaterialPageRoute(
                builder: (context) => ListScreen(data.paintingNames)));
          },
        ),
        ListTile(
          leading: Icon(Icons.grid_3x3),
          title: Text("Grid Screen"),
          onTap: () {
            Navigator.pop(context);
            Navigator.of(context).push(MaterialPageRoute(
                builder: (context) => GridScreen(data.paintings)));
          },
        )
      ],
    ));
  }
}
You can then add drawer: MyNavDrawer(), to each Scaffold.
If you try this, you will get some errors because our ListScreen and GridScreen constructors require an argument (data from a BobRossData object), but MyNavDrawer doesn’t have that argument available. How do you fix this? Well, you could give the data to the MyNavDrawer and have it pass it along. That’s not ideal.
A better solution is to make each Screen widget as independent as possible. So instead of ListScreen(...) and GridScreen(...) requiring a parameter, have them load the BobRossData insider their build methods much like the HomeScreen does. Then you could remove that parameter from their constructors. It is good program design for your “top level” screen widgets to be as functionally-independent as possible. Making these changes is left as an exercise.
A word on Tabs and Bottom Navigation
A common visual paradigm in modern mobile apps is “tab-based” navigation where you have a small number of icons at the top or bottom of the screen that change the screen’s content, e.g.:
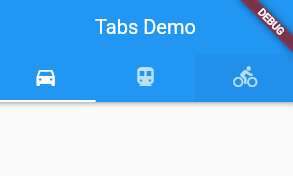
Tab controls and bottom navigation can make for a smoother user experience, but the implementation is more complicated. These approaches do not use the Navigator at all, but instead require logic that replaces the content of the current screen with some different content. To accomplish this, you need to create a fairly complicated Stateful widget. We will cover tab controls in a future lab.