Swiping with PageView
- Objectives
- Boilerplate
- Introduction to the PageView
- Implementing a simple PageView
- Adding an indicator with TabPageSelector
- Other Resources
Objectives
- To implement a PageView and understand its operation
- To add a TabSelector that shows progress through pages
Boilerplate
This lab picks up where the Basic Navigation lab left off.
If you need all the code from that lab, or just want a clean starting point:
- Download the updated lists_and_grids_with_nav.zip and expand the zip file.
- Open the folder in VS Code.
- Click on the “Get Packages” popup, or open the Command Palette and run “Flutter: Get Packages”.
Introduction to the PageView
We showed two ways for displaying lists of information: the ListView and the GridView. Both of those widgets use a List (like an array) as a data source, build widgets to display individual items, and display the individual item widgets in a scrollable container.
A third option for displaying a list of items is a “gallery” or “page” style using the PageView widget. This is when you have individual items shown on a screen and can swipe left or right to travel through the list, like so:
Mental Model of the PageView
A clear mental model of how a PageView is assembled will help understand the code. Refer to the illustration below:
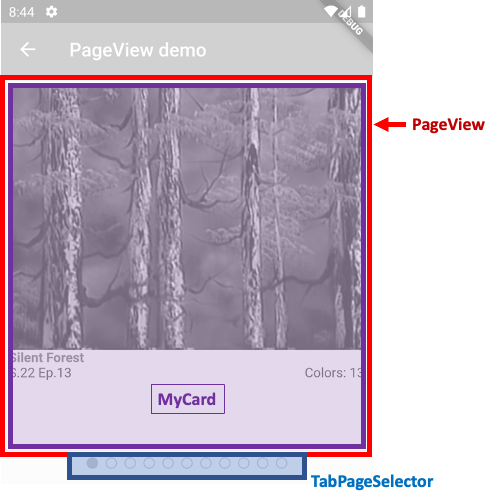
- PageView: The main thing to understand is that the PageView is not navigating between screens. The invisible PageView widget is changing which list item it displays. PageView detects the swiping gesture and shows an animation that transitions between elements.
- MyCard: This is our custom stateless widget for showing info about Bob Ross paintings. The PageView builds one of these for each item in the list.
- TabPageSelector: This is a built-in Flutter widget that helps the user navigate the PageView by showing where they are in the list. It is completely separate from the PageView, and we have to write code to hook the PageView and TabPageSelector together.
Implementing a simple PageView
We will implement a gallery-esque screen to swipe through our list of Bob Ross paintings using a PageView.
Our main.dart is getting cluttered, so we will put the PageView in a separate file for organizational purposes.
- Create a new file in the
lib/folder namedlib/pageview-screen.dart. -
Paste in the following code:
import 'package:flutter/material.dart'; import 'main.dart'; import 'bob_data.dart'; class PageViewScreen extends StatelessWidget { PageViewScreen({super.key}); final List<BobRossPainting> paintings = BobRossData().paintings; @override Widget build(BuildContext context) { return Scaffold( appBar: AppBar(title: Text("PageView demo")), body: PageView( controller: _pageController, children: [ MyCard(painting: paintings[0]), MyCard(painting: paintings[1]), MyCard(painting: paintings[2]), ], ), ); } } - At the top of
main.dart, add the lineimport 'package:lists_and_grids/pageview-screen.dart'; - In
main.dart, add a new ElevatedButton that navigates to the newPageViewScreen. - Run the app and navigate to the PageView.
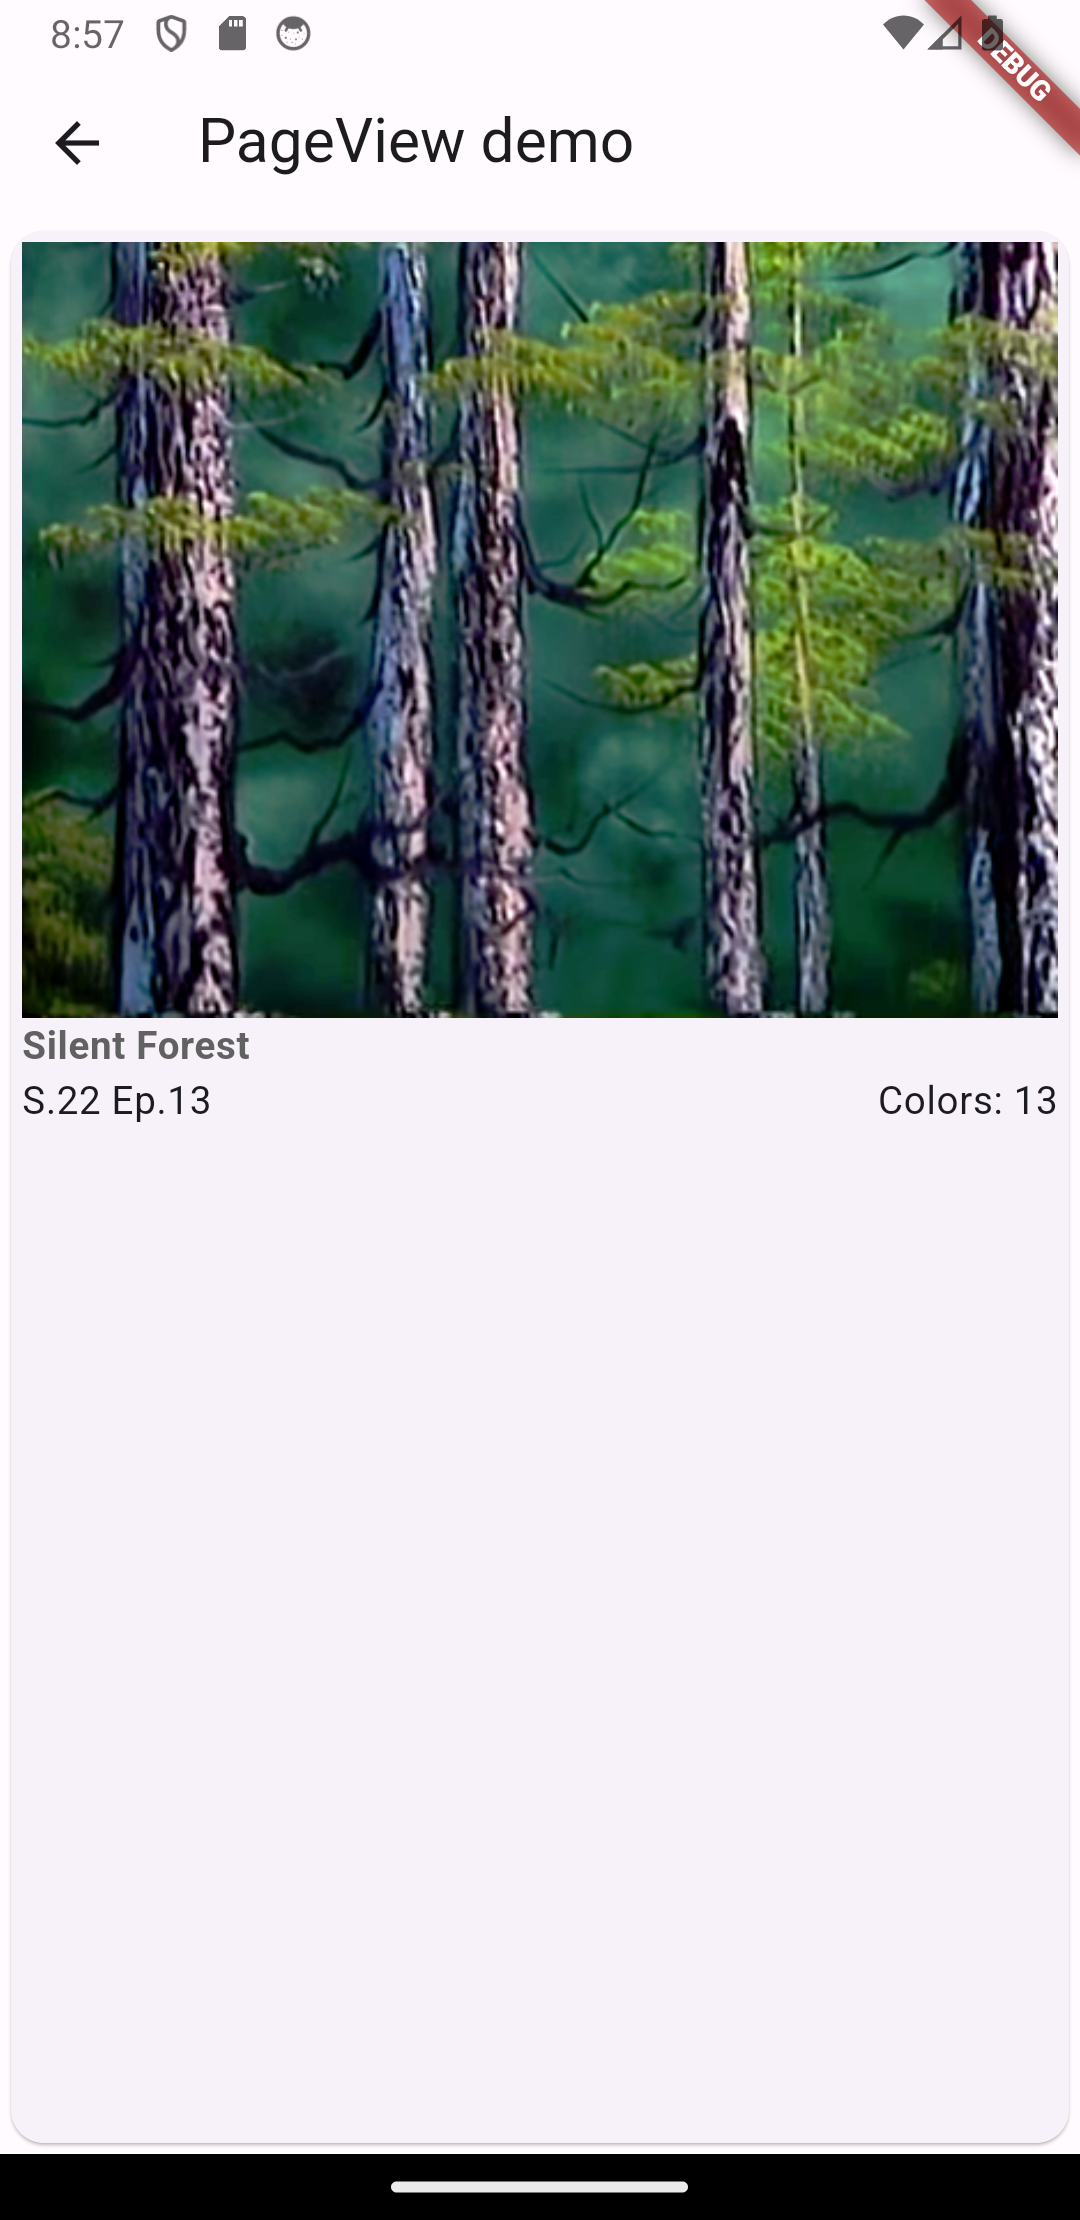
The cards take up the entire screen, and there are only three paintings to show. We have not yet implemented the TabPageSelector to show the dots. But, try swiping back and forth and you will see some visual indicators from the PageView when you reach the ends of the list.
PageView children and builders
You can see in our current code that the children of the PageView are instances of the MyCard class, which is imported from main.dart at the top of the file. We could make the children be whatever we want. They could by MyCards, Texts, Images, Containers, etc. The children can be heterogenous, i.e., not all the same type.
Right now, the children are hardcoded to be MyCards based on the first three elements of the _data.paintings list. This is fine, but not scalable.
Builders are another important Flutter concept that we first saw in the the ListView and the GridView lab. Think of builders as a factory for creating widgets. A builder is a function that gets called when a widget needs something, like when a user scrolls or swipes through a widget. The widget says, “I need the 4th thing! Builder function, give me the widget for the 4th thing”, and the builder function returns the desired widget.
The _data.paintings variable has many elements. Rather than hardcoding each MyCard() child of PageView, let’s specify a builder that creates a MyCard for each element in the list.
Replace the PageView() in the body of your Scaffold with the following:
PageView.builder(
    itemCount: paintings.length,
    itemBuilder: (context, index) =>
        MyCard(painting: paintings[index]),
),
- Note we have changed from
PageView()toPageView.builder(). This new call also has acontrollerparameter that takes our PageController. - The
itemCountparameter tells the PageView how many elements are in the list. - The
itemBuilderparameter specifies an anonymous function that returns the widget you want to display based on theindexof where you are in the PageView. As the user swipes, the function you provide toitemBuildergets called when the PageView needs a widget to display the “next” item.
Your app should look the same as before, but now you will be able to swipe between all items in the paintings list and not just the three hardcoded items we specified originally. Builders are a powerful concept and one that appears in many Flutter widgets.
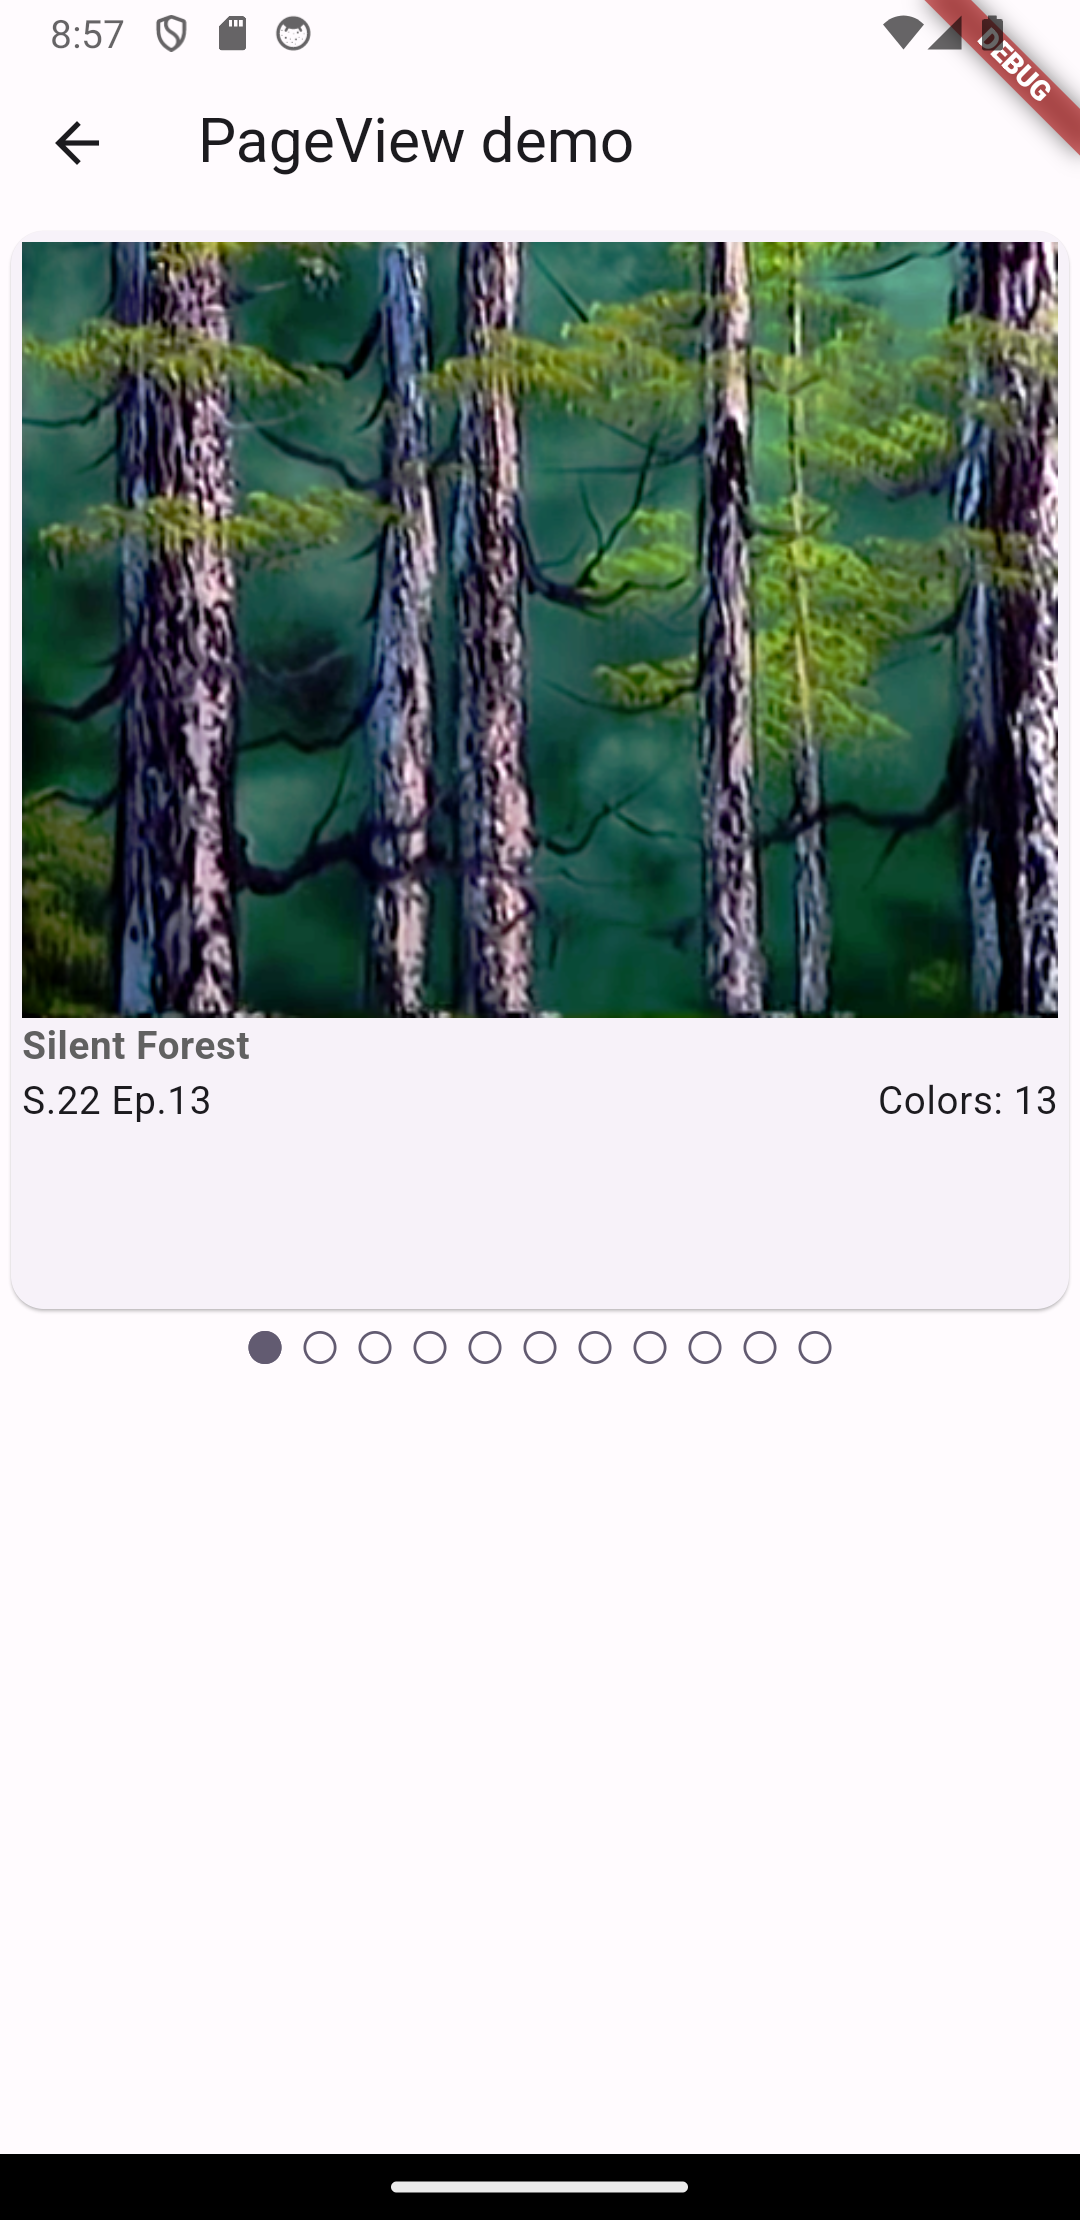
Adding an indicator with TabPageSelector
The PageView works fine, but we currently do not indicate to the user where in the list of items they are. We could do this using text, such as “Item 3 / 24”, or using the familiar “dot indicator” that you have no doubt seen in mobile apps. In any case, we are going to need our screen to transform into a Stateful widget to keep track of where the user is in the list.
The Controller concept
Controllers are a recurring concept in Flutter and are a part of many widgets. The intention of a controller is to enable the caller (you, the programmer using it) to manipulate a complex StatefulWidget more easily. Several of Flutter’s built-in widgets require controllers.
To add a TabPageSelector widget to indicate the dots at the bottom, we need to instantiate the built-in TabController class and pass it to the TabPageSelector. The TabController exposes methods that let you change which page is shown programmatically, e.g., in response to a button press.
Despite the fact that the “dot indicator” is a common visual paradigm, adding it requires quite a few changes to our simple screen:
- In
main.dart, change your navigation route fromPageViewScreen()toPageViewScreenWithIndicator() - In
pageview-screen.dart, add the following:
class PageViewScreenWithIndicator extends StatefulWidget {
  const PageViewScreenWithIndicator({super.key});

  @override
  State<PageViewScreenWithIndicator> createState() =>
      _PageViewScreenWithIndicatorState();
}

class _PageViewScreenWithIndicatorState
    extends State<PageViewScreenWithIndicator>
    with SingleTickerProviderStateMixin {
  final List<BobRossPainting> paintings = BobRossData().paintings;

  TabController? _tabController;

  @override
  void initState() {
    super.initState();
    _tabController = TabController(length: paintings.length, vsync: this);
  }

  @override
  Widget build(BuildContext context) {
    return Scaffold(
      appBar: AppBar(title: Text("PageView demo")),
      body: Column(
        children: [
          SizedBox(
            height: 400,
            child: PageView.builder(
              itemCount: paintings.length,
              onPageChanged: (value) => setState(() {
                _tabController?.index = value;
              }),
              itemBuilder: (context, index) =>
                  MyCard(painting: paintings[index]),
            ),
          ),
          TabPageSelector(
            controller: _tabController,
          ),
        ],
      ),
    );
  }
}
There is a lot to unpack here:
- Our new screen is now a Stateful widget. This is because we need to share the state of the PageView with the TabPageSelector. Specifically, we need to tell the TabPageSelector when the user swipes to a new page.
- We declare a
TabController? _tabController;variable that controls the state of the TabPageSelector. The TabPageSelector is the widget that shows the dots on the screen.- We implement the
initState()method, which is inherited from theState<>class. Think of it as a constructor. We have to do this because theTabControllerrequires the number of items thepaintingslist so it knows how many dots to draw. However, thepaintingslist is defined as a class variable. Because of possible race conditions, Flutter does not allow you to instantiate one class variable using information from another class variable. Consequently, we need to initialize the_tabControllervariable insideinitState(). Class variables are initialized first, then initState() is called automatically by the Flutter framework when the widget is created. - The
TabController()constructor requires the number of items in the list as well as the mysteriousvsyncparameter.vsyncis short for “vertical synchronization” and is a low-level event that is fired every time the screen starts to refresh the content it wants to show you. You can learn more about vsync from this video if you want. Basically, the TabController needs a clock that governs its animations. You may have noticed that the_PageViewScreenWithIndicatorStatehas this expressionwith SingleTickerProviderStateMixin. Mixins are a concept in some programming languages that add functionality to a class similar to inheritance. We’re not going to dwell on whatwith SingleTickerProviderStateMixindoes exactly, but you need it for theTabControllerto work.
- We implement the
- The
bodyof our Scaffold is now a Column that contains 1) a SizedBox to limit the height of the PageView, and 2) a TabPageSelector which draws the dot indicator on the screen. - The TabPageSelector widget simply requires the
_tabControllerto draw properly. - In the
PageView.builder(), everything is the same except for the addition of theonPageChangedproperty. This property takes an anonymous function that fires every time the user swipes left or right, and this function has a single parametervaluethat indicates the index of the page in the list. We specify code here that updates the_tabControllerto say which “dot” we should be on. ThisonPageChangedproperty is how we synchronize the PageView with the TabPageSelector. We must callsetState()in this property so that we trigger a re-build of our Stateful widget and, consequently, a re-build of the TabPageSelector so that the visual dot indicator updates.
Wow, that seems like a lot, and it is. Some complicated things are simple with Flutter, and some seemingly-simple things are complicated. The real culprit here is managing state. Remember, for any Stateful widget, you need three things:
- A variable that maintains some state: in this case, it is our
_tabController. - A user interaction that updates the state: in this case, it is the user swipes that fire the
onPageChangedproperty of the PageView - A widget in our
build()method that changes based on the state: in this case, theTabPageSelector.
If you can wrap your head around this flow of events, and how the widgets in this example play off one another, you are well on your way to being able to build just about any sort of complicated UI in Flutter.